Seriously and no joke this is the best Halloween Graveyard Dirt Cups recipe. It is the one my family asks me to make every October and it has become a classic dessert with simple and delicious ingredients. Creamy chocolate pudding is layered with crushed chocolate cookies and gummy worms plus little cookie tombstones. Perfect for Halloween parties or spooky movie nights with extra cookie crumbs on the side.
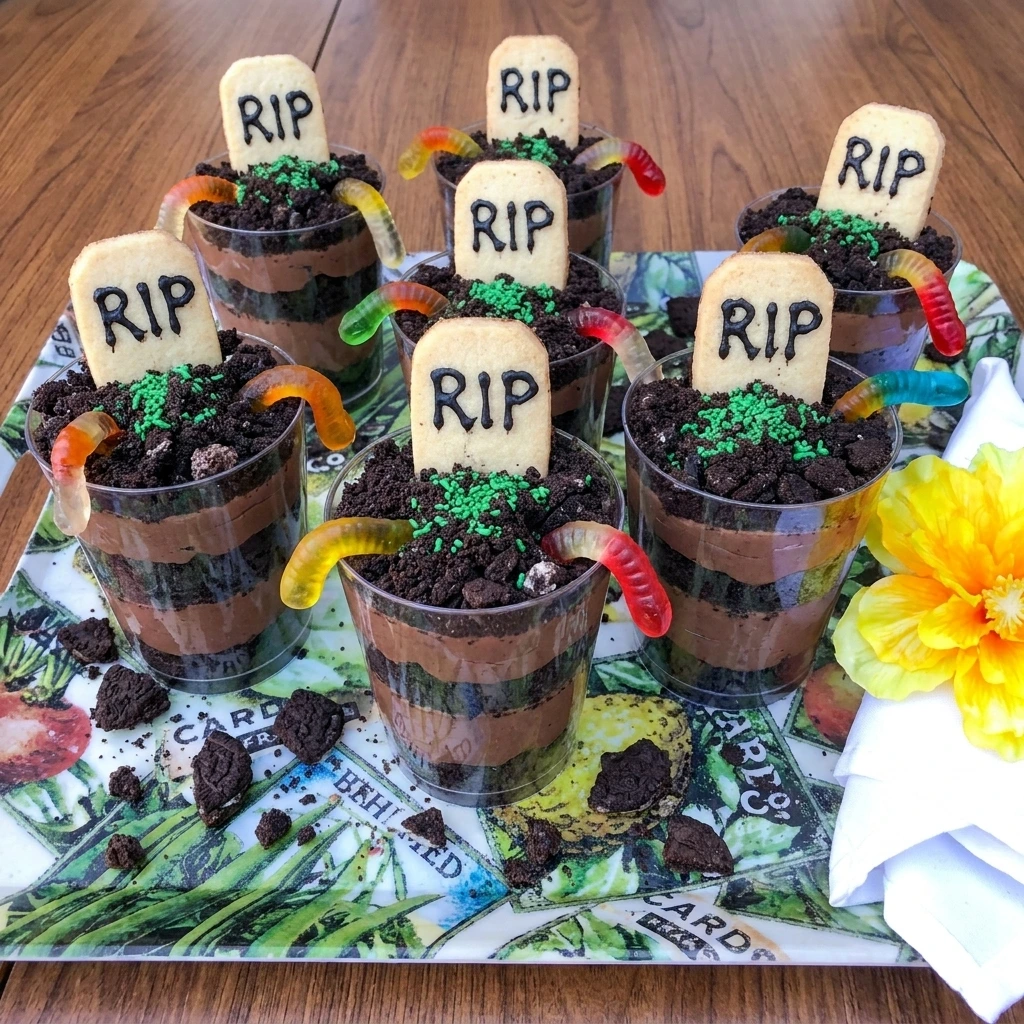
A batch of Halloween Graveyard Dirt Cups is one of my go-to easy party desserts. Not only does each cup make a super fun treat but the individual portions keep serving simple and tidy. Also there are no complicated methods or ingredients needed. And party prep is a cinch.
I often make the pudding and cookie soil ahead before adding the decorations shortly before serving. If you love creamy cookie desserts then try our Mini Oreo Cheesecake Cups for another crowd pleasing idea. With just a few basic ingredients probably already in the fridge and pantry you can whip up these dirt cups for a Halloween party or school celebration or even arrange them on a dessert tray for a playful holiday display.
Ingredients
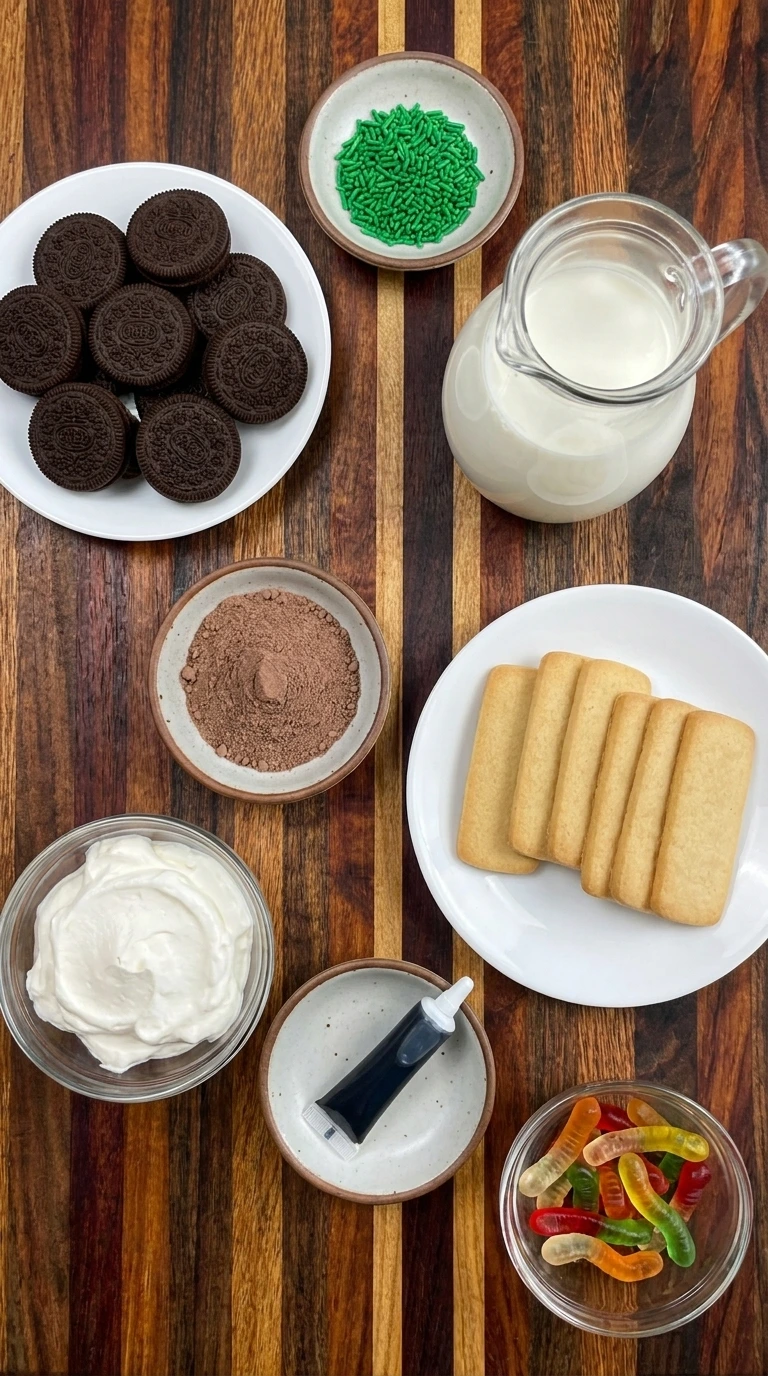
Here is what I use for this recipe and you can adjust nuts or spices based on preference:
- Instant chocolate pudding mix: Creates the rich chocolate base and thickens quickly without cooking.
- Cold whole milk: Activates the pudding mix and gives the filling a creamy spoonable texture.
- Whipped topping: Lightens the pudding and creates a softer mousse-like consistency.
- Chocolate sandwich cookies: Form the dark crumbly soil and add contrasting crunch between the pudding layers.
- Rectangular vanilla cookies: Become edible tombstones that stand upright in the finished dirt cups.
- Black decorating gel: Adds simple RIP lettering and uneven graveyard markings to the cookie tombstones.
- Gummy worms: Add bright color and a playful crawling detail across the cookie soil.
- Green sprinkles: Create small irregular patches of grass around the tombstones.
Tools You’ll Need
- Large mixing bowl: Provides enough space to whisk the pudding and fold in the whipped topping without spilling.
- Whisk: Blends the pudding mix with milk until the mixture becomes smooth and thick.
- Flexible spatula: Folds the whipped topping into the pudding while preserving its light texture.
- Food storage bag or food processor: Crushes the chocolate sandwich cookies into a mixture of fine crumbs and small chunks.
- Eight clear dessert cups: Display the contrasting pudding and cookie layers while keeping each serving portioned.
- Small spoon: Transfers the mousse and cookie crumbs into the cups while creating relaxed uneven layers.
Instructions
Step 1: Whisk the chocolate pudding
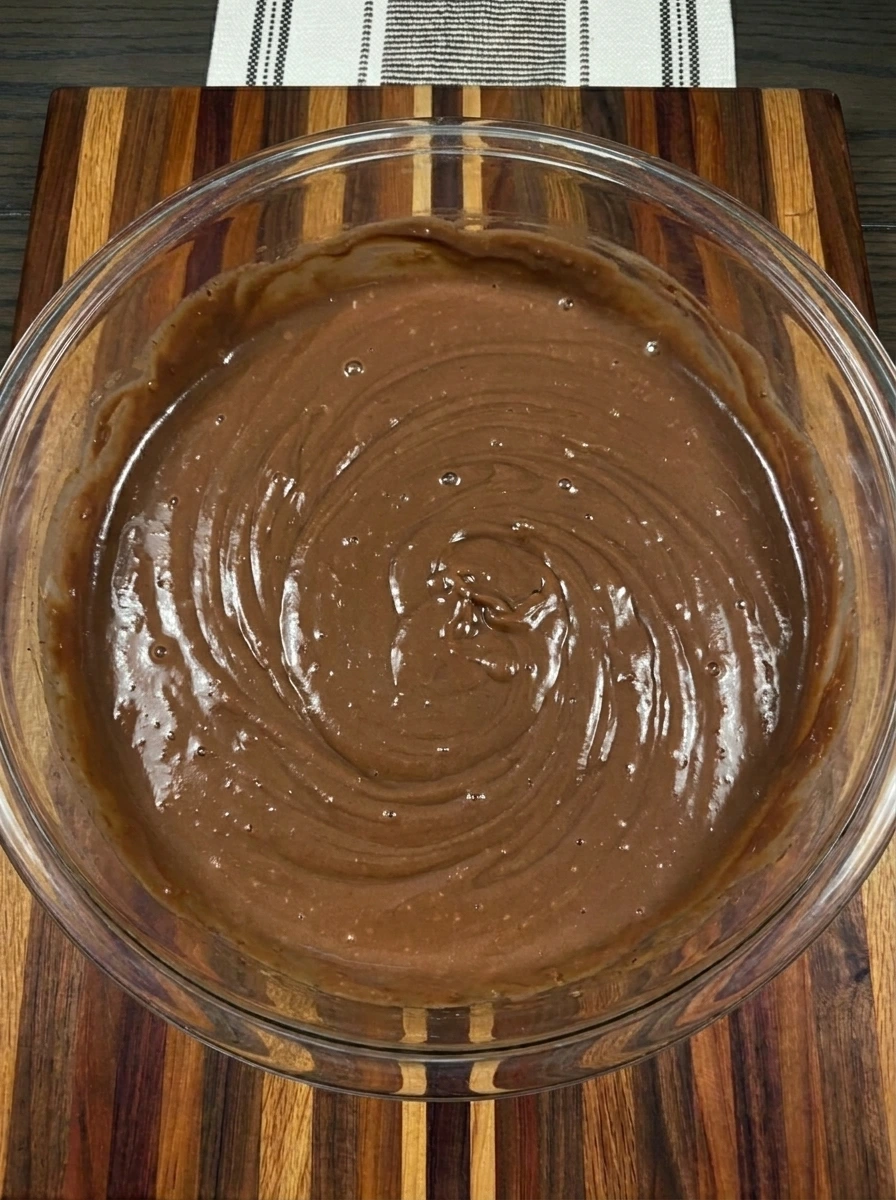
Pour the cold milk over the chocolate pudding mix and whisk until the dry powder disappears into a smooth chocolate mixture. The mixture changes from thin and streaky to thick and glossy with a few natural swirls remaining across the surface.
Tip: Use thoroughly chilled milk so the pudding thickens quickly and develops a firm texture that supports the cookie layers.
Step 2: Fold in the whipped topping
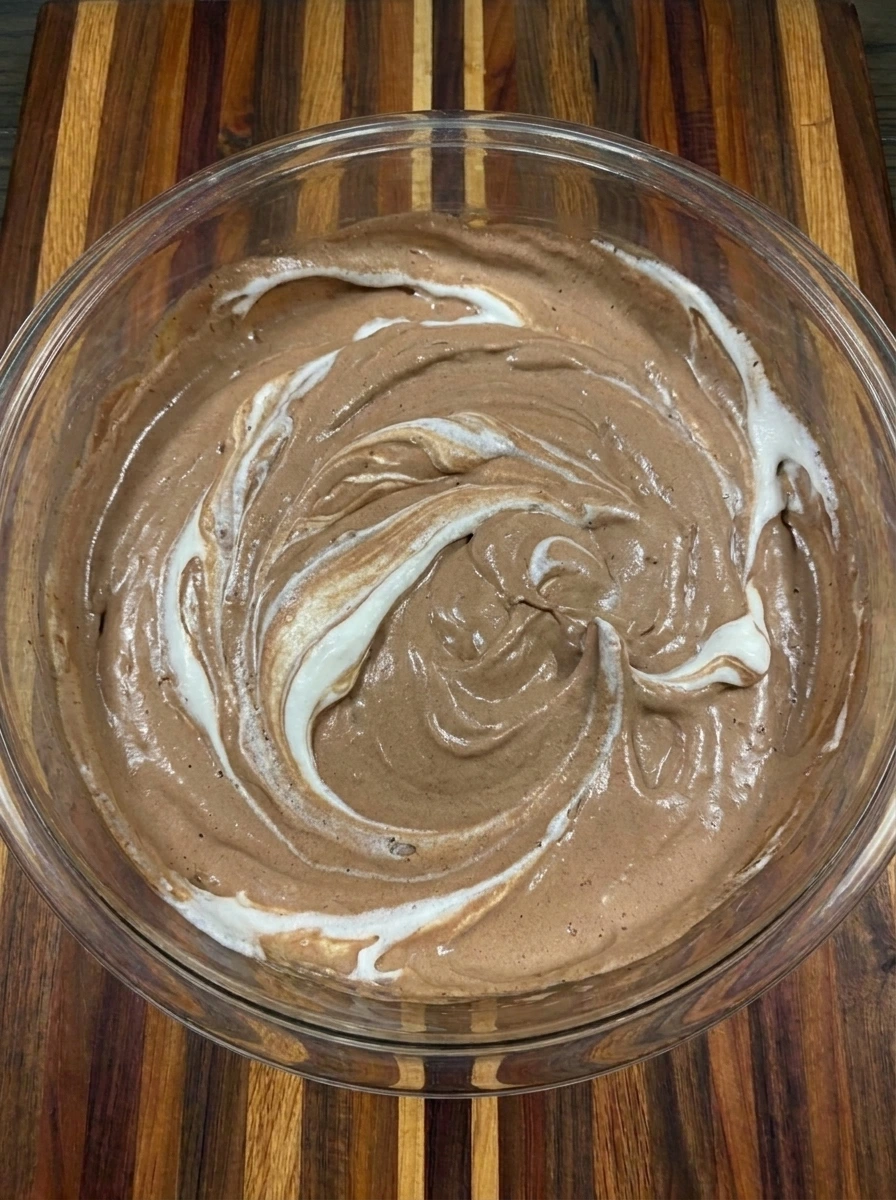
Add the whipped topping to the thick chocolate pudding and fold until the bright white streaks soften into a lighter brown mousse. Stop once the mixture looks airy and mostly combined while a few darker chocolate ribbons remain for a natural homemade appearance.
Tip: Fold gently instead of stirring rapidly so the mousse stays light and holds distinct layers inside each dessert cup.
Step 3: Crush the chocolate cookies
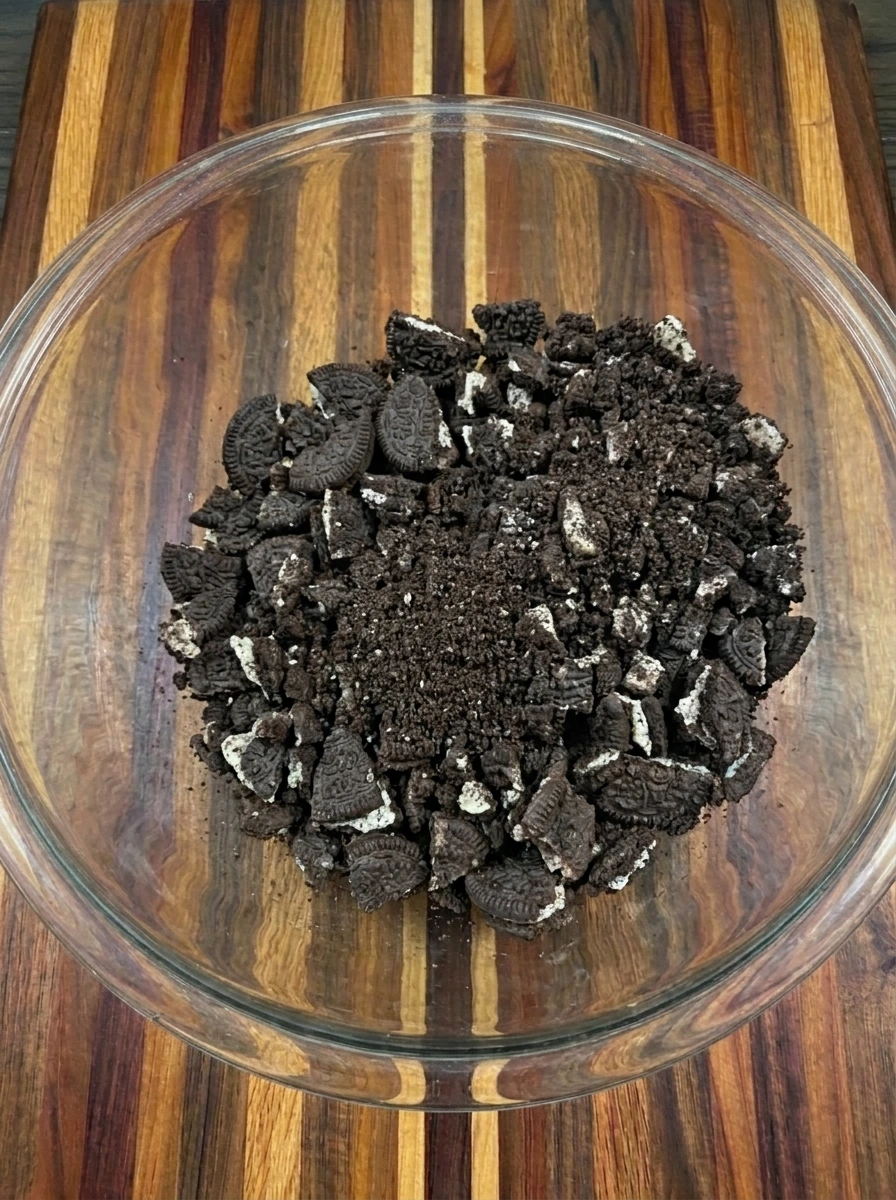
Break all twenty chocolate sandwich cookies into dark crumbs with a mixture of fine soil-like pieces and several small irregular chunks. The cookies should no longer look whole although the varied crumb sizes should remain visible for realistic edible dirt.
Tip: Leave a few pea-sized cookie pieces among the fine crumbs so the finished soil has more natural texture and crunch.
Step 4: Layer the mousse and cookie soil
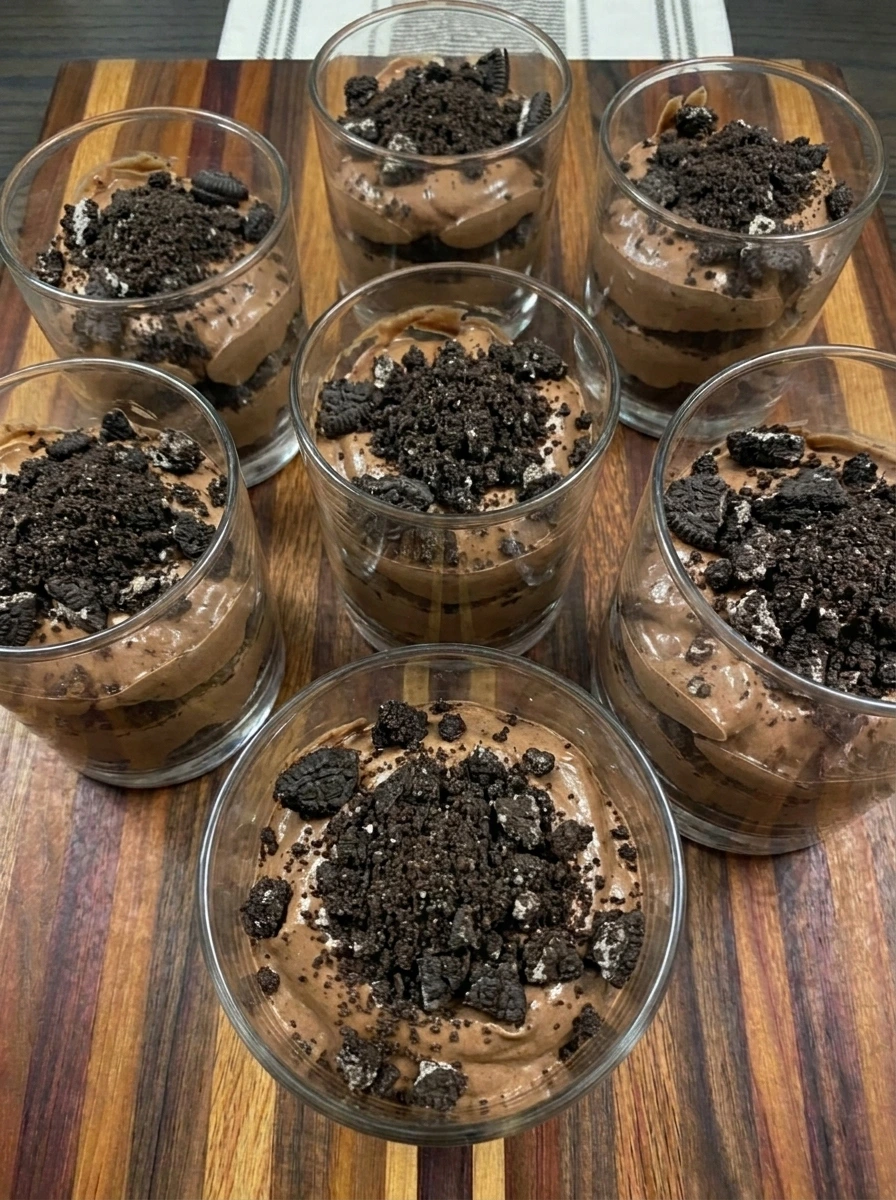
Divide half of the chocolate mousse unevenly among eight clear dessert cups and scatter part of the cookie soil over each portion. Add the remaining mousse in relaxed spoonfuls before covering the tops with the remaining crumbs so every cup shows distinct creamy and crunchy layers.
Tip: Keep the layers slightly uneven and press a few crumbs against the cup walls so the homemade texture remains clearly visible.
Step 5: Decorate the cookie tombstones
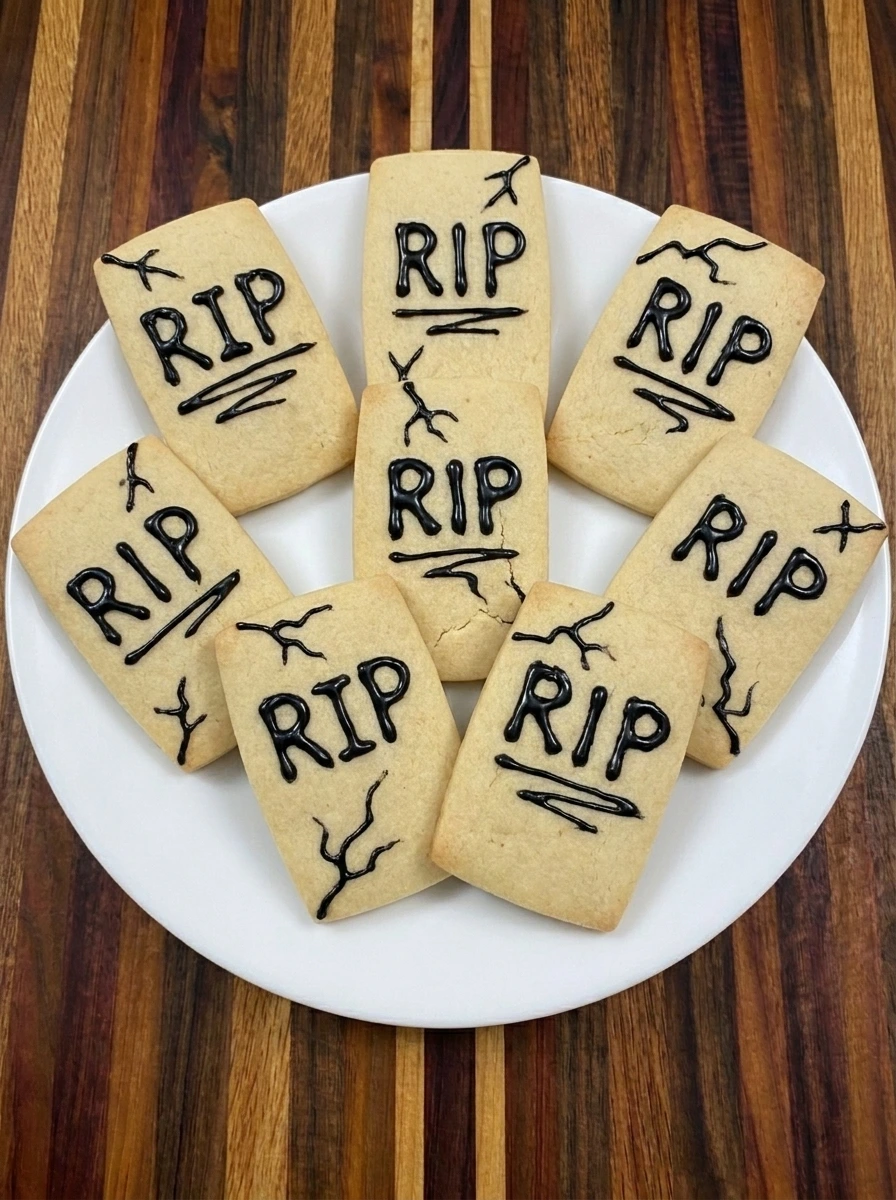
Pipe RIP and a few short crooked markings onto all eight rectangular vanilla cookies with the black decorating gel. The lettering should vary slightly from cookie to cookie so the tombstones look handmade rather than perfectly printed.
Tip: Use light pressure on the decorating gel and keep each letter short so the writing stays readable without covering the cookies.
Step 6: Finish the graveyard decorations
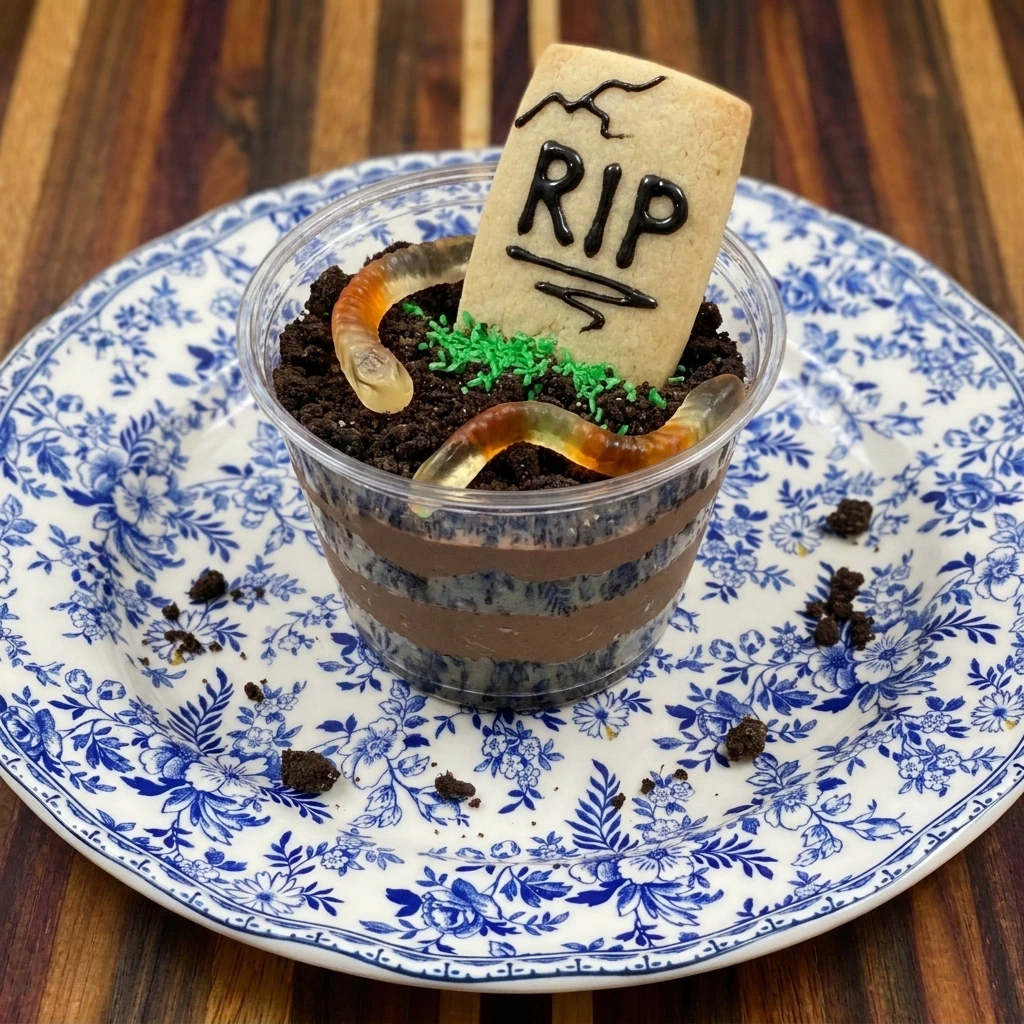
Push one decorated tombstone into each cup at a slightly different angle and arrange all twelve gummy worms so some curl across the crumbs while others disappear partly into the soil. Scatter the green sprinkles in small uneven patches around the tombstones and leave plenty of dark crumbs visible between them.
Tip: Add the tombstones shortly before serving so the cookies remain crisp while the gummy worms can be added during chilling.
Pro Tips
- Chill the prepared pudding before layering so it stays thick and keeps the dark cookie soil from sinking into the mousse.
- Crush the cookies into mixed sizes because fine crumbs resemble soil while small chunks create a more realistic homemade texture.
- Angle each cookie tombstone differently and vary the gummy worm placement so the finished graveyard looks casual and playful.
- Wait to insert the tombstone cookies until close to serving because long refrigeration can soften their crisp texture.
Storage Instructions
Cover each assembled dirt cup tightly and refrigerate it as soon as the layers are finished. Keep the cups upright so the decorations and crumb layers do not shift. The pudding cups stay fresh for up to three days although the cookie soil gradually softens as it absorbs moisture. The flavor remains good but the contrast between creamy pudding and crunchy crumbs is strongest during the first day.
For the best texture store the decorated tombstone cookies separately at room temperature in an airtight container. Insert them into the cups shortly before serving so they stay firm and readable. Freezing is not recommended because thawed pudding can separate and the cookie crumbs can become soggy. These cups are best enjoyed chilled directly from the refrigerator.
Frequently Asked Questions
Prepare the pudding layers one day ahead and add the cookie tombstones shortly before serving.
Keep them covered in the refrigerator for up to three days although the cookie crumbs will soften.
Yes and fully chilled homemade chocolate pudding works well when it is thick enough to hold the layers.
Yes and candy pumpkins or chocolate bones can replace the worms while keeping the spooky graveyard theme.
See You in the Kitchen
These Halloween Graveyard Dirt Cups are a great way to satisfy your chocolate dessert cravings without turning on the oven.
I typically prepare the pudding layers at the same time I make Chocolate Dipped Strawberry Crackers or Mini Oreo Cheesecake Cups and that way all of my party desserts will be ready at the same time.
Even my kids love this one!
Print
Halloween Graveyard Dirt Cups
- Total Time: 1 hour 25 minutes
- Yield: 8 servings
Description
These Halloween Graveyard Dirt Cups are an easy dessert with rich chocolate pudding and crunchy cookie soil plus playful tombstones and gummy worms. The quick layers are simple enough for kids to help assemble and they make one of the best ideas for a Halloween party or holiday potluck. With creamy pudding and portioned cups this healthy inspired treat feels lighter than a frosted cake while still bringing spooky fun to every table. Chill them ahead for stress free serving.
Ingredients
- 1 package or 3.9 ounces Instant chocolate pudding mix
- 2 cups Cold whole milk
- 1 cup Whipped topping
- 20 cookies Chocolate sandwich cookies
- 8 cookies Rectangular vanilla cookies
- 1 small tube Black decorating gel
- 12 gummy worms Gummy worms
- 2 tablespoons Green sprinkles
Instructions
- Pour the cold milk over the chocolate pudding mix and whisk until the dry powder disappears into a smooth chocolate mixture. The mixture changes from thin and streaky to thick and glossy with a few natural swirls remaining across the surface.
- Add the whipped topping to the thick chocolate pudding and fold until the bright white streaks soften into a lighter brown mousse. Stop once the mixture looks airy and mostly combined while a few darker chocolate ribbons remain for a natural homemade appearance.
- Break all twenty chocolate sandwich cookies into dark crumbs with a mixture of fine soil-like pieces and several small irregular chunks. The cookies should no longer look whole although the varied crumb sizes should remain visible for realistic edible dirt.
- Divide half of the chocolate mousse unevenly among eight clear dessert cups and scatter part of the cookie soil over each portion. Add the remaining mousse in relaxed spoonfuls before covering the tops with the remaining crumbs so every cup shows distinct creamy and crunchy layers.
- Pipe RIP and a few short crooked markings onto all eight rectangular vanilla cookies with the black decorating gel. The lettering should vary slightly from cookie to cookie so the tombstones look handmade rather than perfectly printed.
- Push one decorated tombstone into each cup at a slightly different angle and arrange all twelve gummy worms so some curl across the crumbs while others disappear partly into the soil. Scatter the green sprinkles in small uneven patches around the tombstones and leave plenty of dark crumbs visible between them.
Notes
Pro Tips:
- Chill the prepared pudding before layering so it stays thick and keeps the dark cookie soil from sinking into the mousse.
- Crush the cookies into mixed sizes because fine crumbs resemble soil while small chunks create a more realistic homemade texture.
- Angle each cookie tombstone differently and vary the gummy worm placement so the finished graveyard looks casual and playful.
- Wait to insert the tombstone cookies until close to serving because long refrigeration can soften their crisp texture.
Storage: Cover each assembled dirt cup tightly and refrigerate it as soon as the layers are finished. Keep the cups upright so the decorations and crumb layers do not shift. The pudding cups stay fresh for up to three days although the cookie soil gradually softens as it absorbs moisture. The flavor remains good but the contrast between creamy pudding and crunchy crumbs is strongest during the first day. For the best texture store the decorated tombstone cookies separately at room temperature in an airtight container. Insert them into the cups shortly before serving so they stay firm and readable. Freezing is not recommended because thawed pudding can separate and the cookie crumbs can become soggy. These cups are best enjoyed chilled directly from the refrigerator.
- Prep Time: 25 minutes
- Cook Time: 0 minute
- Category: Dessert
- Cuisine: American