

This is my tried-and-true recipe for baking Black Velvet Cake in the oven and with just a few ingredients including black cocoa and buttermilk and vanilla you get deeply flavored tender cake with a dark crumb and creamy cocoa frosting so it is pure comfort food and the kind of dessert that makes the whole house smell incredible.
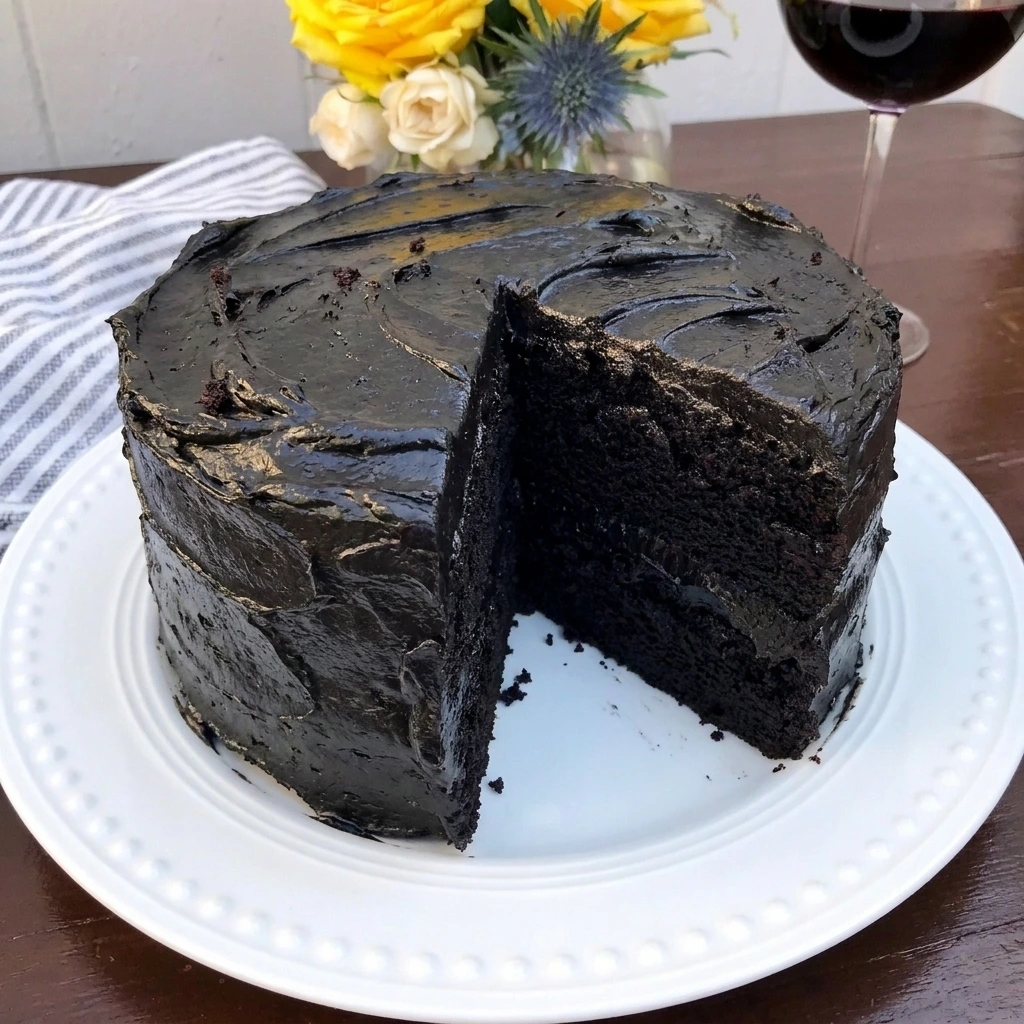
What I love most about this recipe is how minimalist it is because it is not loaded with complicated fillings or decorations and still it turns out unbelievably soft and rich while if you love cozy homemade desserts you can try our Banana Cream Pie for another creamy favorite.
Simple ingredients let the flavor of the cocoa shine and every time I make it for friends or family it is gone before I can even get a second slice.
Ingredients
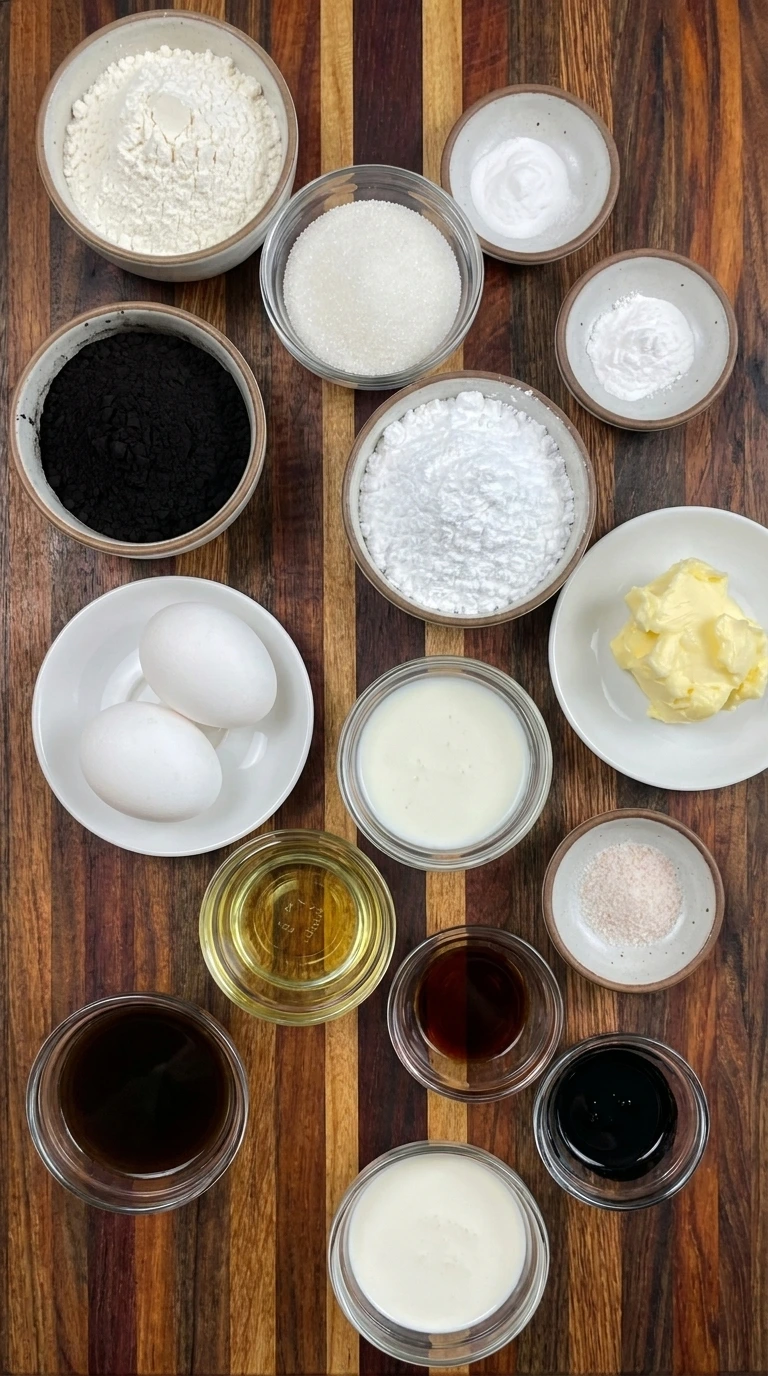
Here is what I use for this recipe :
- All-purpose flour: Builds the cake structure while keeping the crumb sturdy enough for stacking.
- Black cocoa powder: Creates the deep cocoa flavor and dramatic dark color in both cake and frosting.
- Granulated sugar: Sweetens the cake and helps the crumb stay moist and tender.
- Baking soda: Reacts with the acidic buttermilk so the cake rises with a light texture.
- Baking powder: Adds extra lift so the dense cocoa batter bakes into soft layers.
- Fine salt: Balances sweetness and sharpens the cocoa flavor in both cake and frosting.
- Large eggs: Bind the batter and add richness while supporting the finished cake structure.
- Buttermilk: Adds acidity and moisture so the crumb stays soft with a subtle tang.
- Vegetable oil: Keeps the cake moist even after chilling and gives the crumb a supple texture.
- Vanilla extract: Rounds out the cocoa flavor and adds warmth to both the cake and frosting.
- Hot brewed coffee: Deepens the cocoa flavor and loosens the batter to create a tender crumb.
- Black gel food coloring: Strengthens the black color without adding excess liquid to the cake or frosting.
- Unsalted butter: Forms the creamy base of the frosting and gives it a smooth spreadable body.
- Powdered sugar: Sweetens and thickens the frosting so it holds between the cake layers.
- Heavy cream: Loosens the frosting and helps create a soft velvety spreadable finish.
Tools I Use :
- Two 8 inch round cake pans: Bake the batter into two even layers that can be stacked after cooling.
- Large mixing bowl: Provides enough room to combine the cocoa cake batter without spilling.
- Medium mixing bowl: Holds the frosting while the butter and dry ingredients are whipped together.
- Electric mixer: Aerates the buttercream and blends it into a smooth spreadable frosting.
- Measuring cups and spoons: Keep the flour and cocoa and liquids and leaveners in accurate proportions.
- Wire cooling rack: Allows air to circulate around the baked layers so they cool evenly before frosting.
- Offset spatula: Spreads the frosting between layers and across the top and sides with controlled swoops.
- Parchment paper: Helps the baked cake layers release cleanly from the bottoms of the pans.
Instructions
Step 1: Mix the black cocoa batter
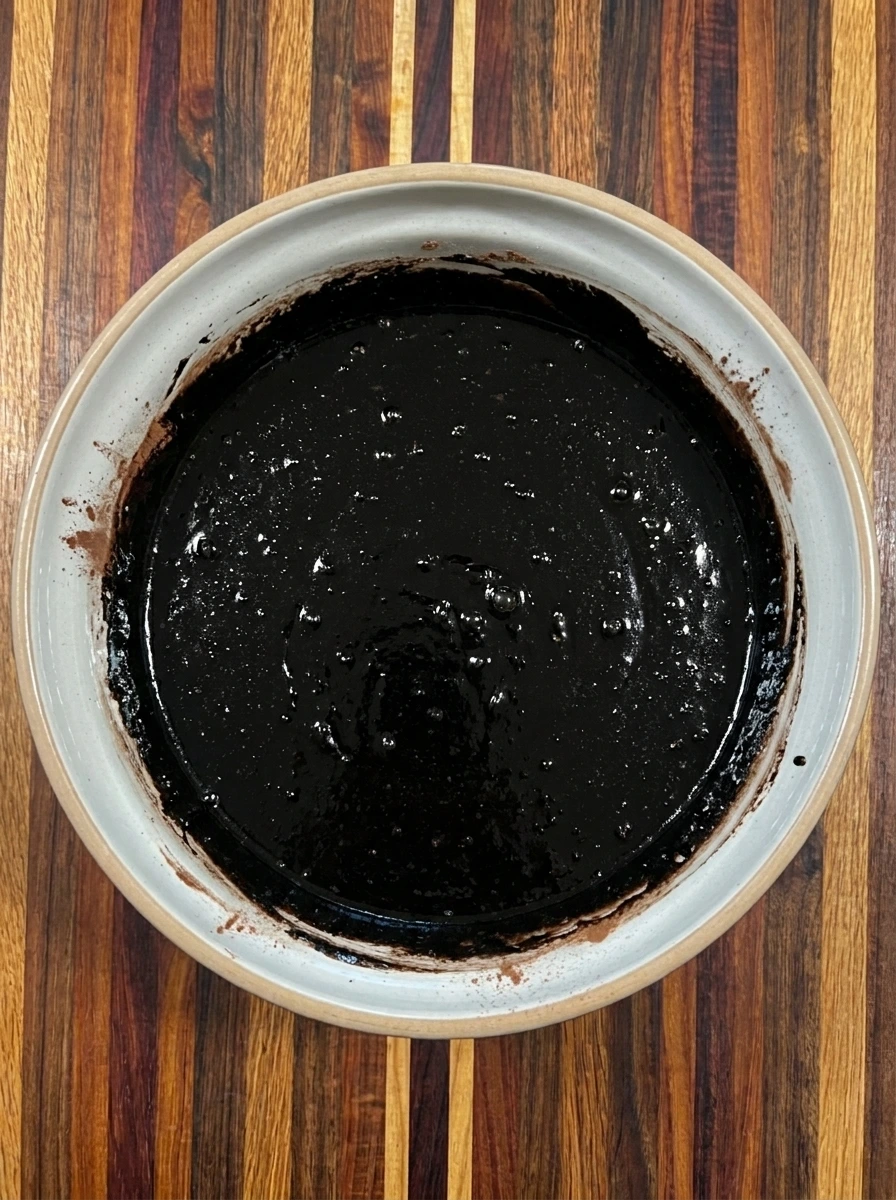
Heat the oven to 350 degrees Fahrenheit and combine 2 cups flour with 3/4 cup black cocoa powder and 1 3/4 cups sugar and 1 1/2 teaspoons baking soda and 1 teaspoon baking powder and 1 teaspoon salt then blend in 2 eggs and 1 cup buttermilk and 1/2 cup vegetable oil and 2 teaspoons vanilla until the mixture turns thick and dark. Pour in 1 cup hot coffee with 1 teaspoon black gel coloring and mix until the batter loosens into a glossy nearly black mixture with a few natural streaks disappearing as it comes together.
Tip: Mix only until the batter looks even because extra mixing can make the finished crumb firmer than desired.
Step 2: Divide the batter into cake pans
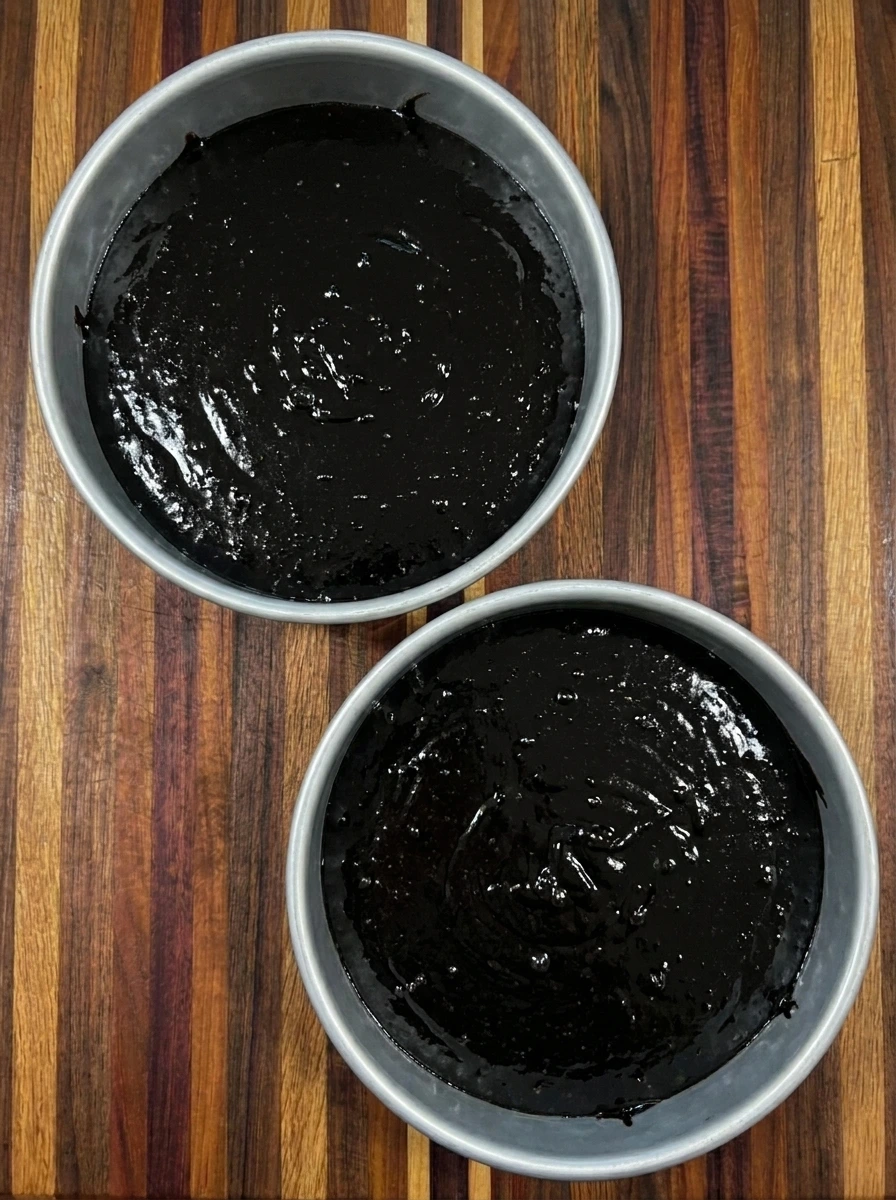
Coat two 8 inch cake pans and line the bottoms then divide all of the dark batter evenly between the two pans so each pan holds half of the mixture with slightly uneven ripples across the tops. Spread the batter toward the edges without making the surfaces perfectly smooth so the two portions keep a natural homemade look before baking.
Tip: Check that the two pans hold similar amounts of batter so the finished layers bake at nearly the same height.
Step 3: Bake the dark cake layers
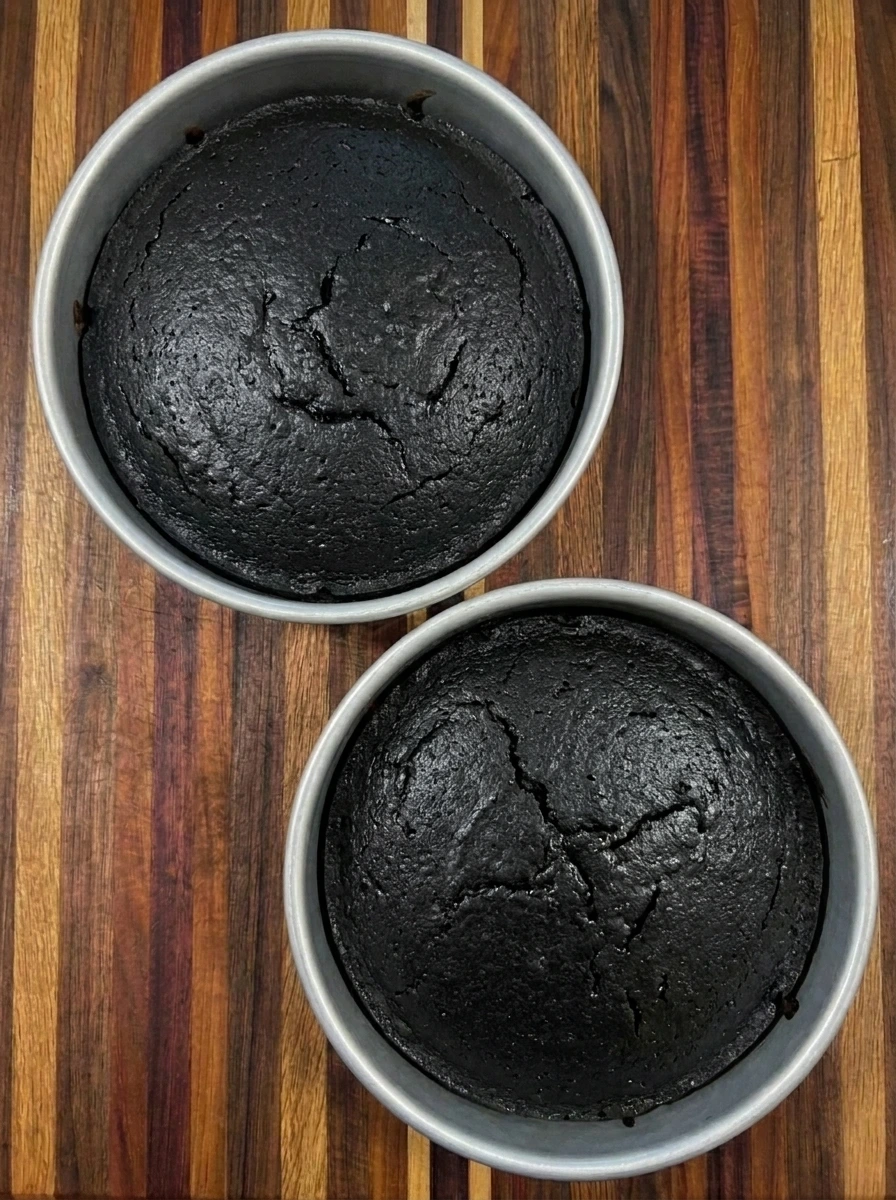
Bake both filled cake pans for 28 to 32 minutes until the batter rises into two set dark layers with matte tops and a few fine cracks while the centers spring back gently. Let the two layers cool completely in their pans before releasing them so the crumb firms enough for stacking without losing its soft texture.
Tip: Do not frost warm layers because trapped heat can melt the buttercream and make the stacked cake slide.
Step 4: Whip the black cocoa frosting
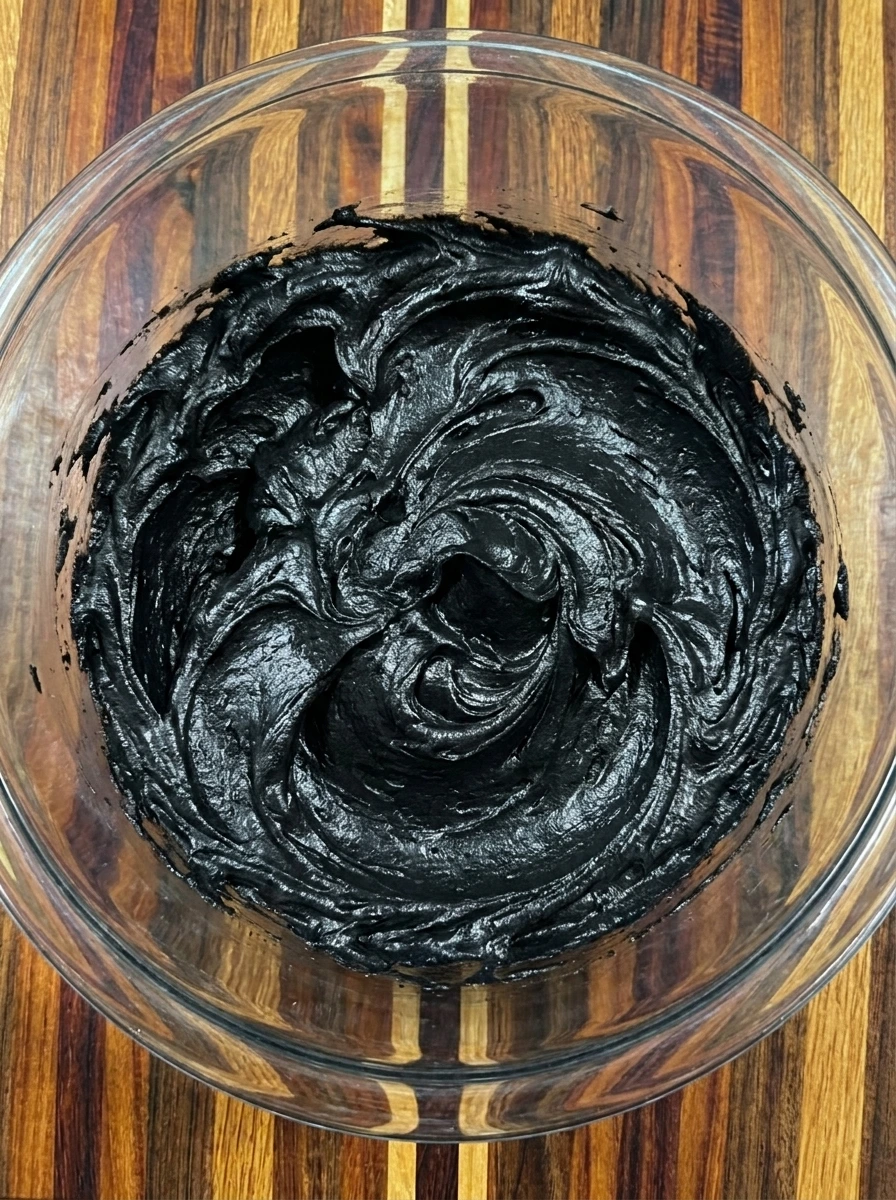
Beat 1 cup softened butter until creamy then blend in the remaining 3/4 cup black cocoa powder with 4 cups powdered sugar and the remaining 1/4 teaspoon salt until the mixture becomes thick and deeply colored. Add 1/3 cup heavy cream with the remaining 2 teaspoons vanilla and 1/2 teaspoon black gel coloring then continue mixing until the frosting becomes smooth and fluffy with soft uneven folds.
Tip: Add the cream gradually so the frosting stays thick enough to hold the cake layers without squeezing out.
Step 5: Stack and frost the cake
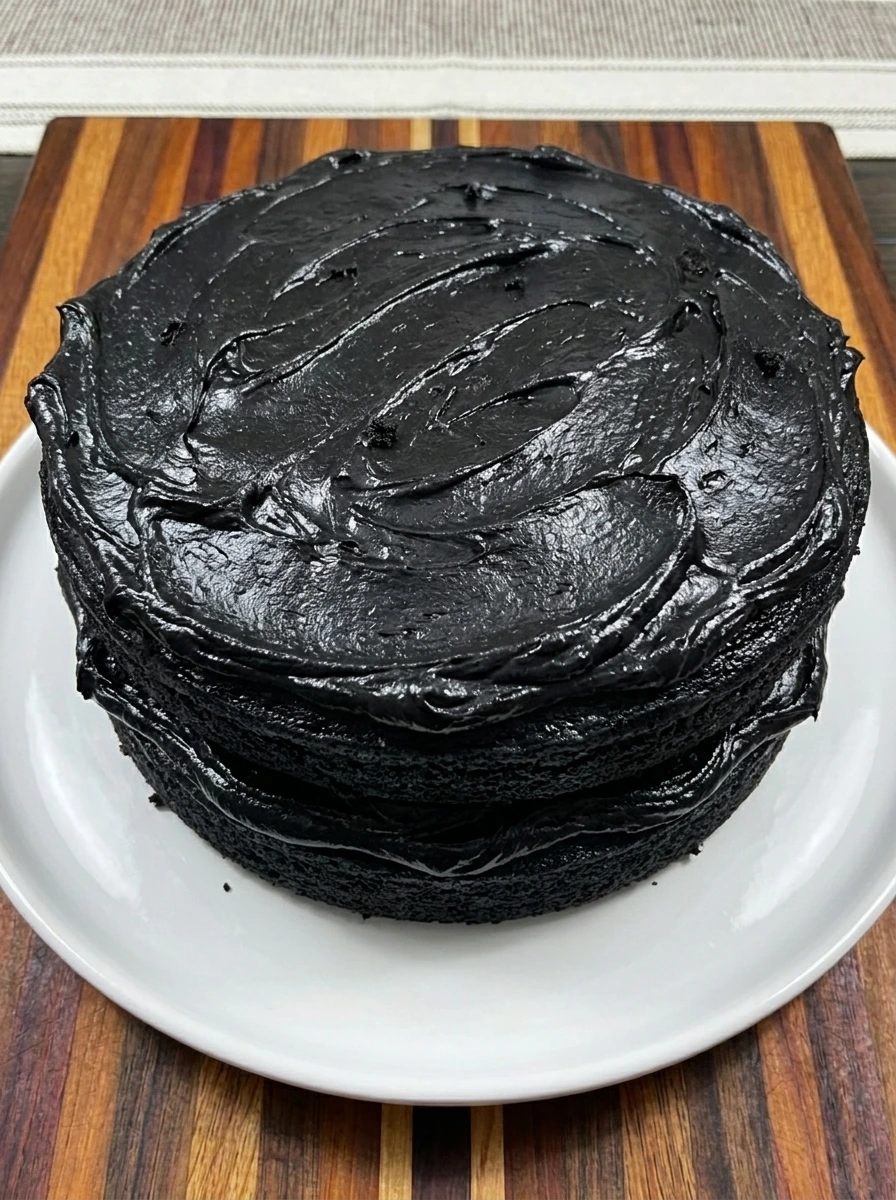
Place one cooled cake layer on a serving plate and spread a thick layer of black cocoa frosting over the top then set the second layer slightly offset before nudging it into place and covering the top and sides with the remaining frosting. Leave the frosting in soft irregular swoops with a few tiny cake crumbs showing at the edges so the finished two layer cake looks rich and homemade rather than perfectly polished.
Tip: Use enough frosting between the layers to create a visible dark stripe while keeping the stack stable and easy to slice.
Step 6: Slice and serve one portion
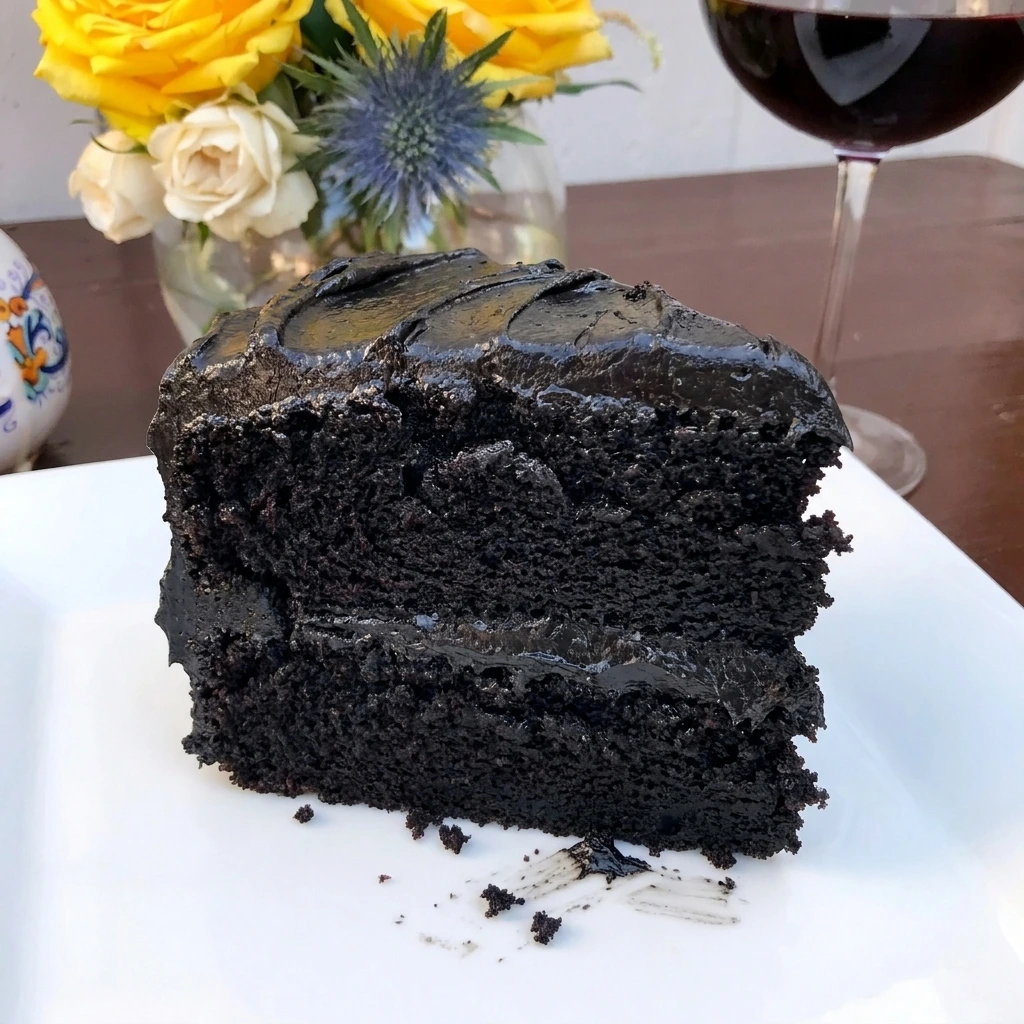
Cut one slice from the chilled two layer cake and place that single portion on a white plate so the dark tender crumb and thick frosting stripe between the layers are clearly visible. Keep the slice slightly imperfect with a few loose crumbs and a small smear of frosting at the base so the final serving looks freshly cut and naturally homemade.
Tip: Chill the frosted cake briefly before slicing so the layers stay defined while the crumb remains soft and tender.
Pro Tips
- Measure the flour and cocoa lightly because packing either one can make the cake dense instead of soft and tender.
- Use room temperature eggs and buttermilk so the batter blends evenly and the baked layers rise with a finer crumb.
- Let both cake layers cool completely before frosting because even slight warmth can soften the buttercream and cause slipping.
- Add black gel coloring gradually because black cocoa already gives strong color and too much gel can affect the frosting texture.
Storage Instructions
Keep the fully frosted Black Velvet Cake covered at cool room temperature for up to one day when the room stays comfortably cool and dry. For longer storage refrigerate the cake in an airtight container for up to four days so the frosting stays protected and the crumb does not absorb refrigerator odors.
Bring chilled slices to room temperature for about 30 minutes before serving because the buttercream softens and the cocoa crumb becomes more tender as it warms. To freeze individual slices wrap each portion tightly and place the wrapped pieces in a freezer safe container for up to two months then thaw them overnight in the refrigerator before bringing them to room temperature.
Frequently Asked Questions
Yes and the cake can be baked one day ahead then wrapped well and frosted after the layers are fully cool.
Black cocoa gives Black Velvet Cake its deep color and smooth cocoa flavor while gel coloring makes the shade even darker.
Yes and you can use Dutch process cocoa although the cake will look more brown than black and taste slightly sharper.
Keep Black Velvet Cake covered at cool room temperature for one day or refrigerate it for up to four days.
See You in the Kitchen
I hope you enjoy all the recipes I share with you including this delicious Black Velvet Cake and our Banana Cheesecake Bars for another rich homemade dessert.
I hope you try it and enjoy it and rate it and share it with your friends and family while keeping our Banana Pudding Cookies in mind for another sweet treat.
Print
Black Velvet Cake
- Total Time: 3 hours
- Yield: 12 servings
Description
Black Velvet Cake is an easy dessert with deep cocoa flavor and a dramatic dark crumb plus creamy black cocoa frosting that feels special without being fussy and it offers quick ideas for a simple bake that looks impressive with familiar ingredients and a balanced portion for a healthy minded treat so it can be one of your best choices for a holiday table or potluck or brunch or party when you want a bold homemade centerpiece that slices cleanly and serves beautifully.
Ingredients
- 2 cups All-purpose flour
- 1 1/2 cups divided Black cocoa powder
- 1 3/4 cups Granulated sugar
- 1 1/2 teaspoons Baking soda
- 1 teaspoon Baking powder
- 1 1/4 teaspoons divided Fine salt
- 2 Large eggs
- 1 cup Buttermilk
- 1/2 cup Vegetable oil
- 4 teaspoons divided Vanilla extract
- 1 cup Hot brewed coffee
- 1 1/2 teaspoons divided Black gel food coloring
- 1 cup softened Unsalted butter
- 4 cups Powdered sugar
- 1/3 cup Heavy cream
Instructions
- Heat the oven to 350 degrees Fahrenheit and combine 2 cups flour with 3/4 cup black cocoa powder and 1 3/4 cups sugar and 1 1/2 teaspoons baking soda and 1 teaspoon baking powder and 1 teaspoon salt then blend in 2 eggs and 1 cup buttermilk and 1/2 cup vegetable oil and 2 teaspoons vanilla until the mixture turns thick and dark.
Pour in 1 cup hot coffee with 1 teaspoon black gel coloring and mix until the batter loosens into a glossy nearly black mixture with a few natural streaks disappearing as it comes together.
- Coat two 8 inch cake pans and line the bottoms then divide all of the dark batter evenly between the two pans so each pan holds half of the mixture with slightly uneven ripples across the tops.
Spread the batter toward the edges without making the surfaces perfectly smooth so the two portions keep a natural homemade look before baking.
- Bake both filled cake pans for 28 to 32 minutes until the batter rises into two set dark layers with matte tops and a few fine cracks while the centers spring back gently.
Let the two layers cool completely in their pans before releasing them so the crumb firms enough for stacking without losing its soft texture.
- Beat 1 cup softened butter until creamy then blend in the remaining 3/4 cup black cocoa powder with 4 cups powdered sugar and the remaining 1/4 teaspoon salt until the mixture becomes thick and deeply colored.
Add 1/3 cup heavy cream with the remaining 2 teaspoons vanilla and 1/2 teaspoon black gel coloring then continue mixing until the frosting becomes smooth and fluffy with soft uneven folds.
- Place one cooled cake layer on a serving plate and spread a thick layer of black cocoa frosting over the top then set the second layer slightly offset before nudging it into place and covering the top and sides with the remaining frosting.
Leave the frosting in soft irregular swoops with a few tiny cake crumbs showing at the edges so the finished two layer cake looks rich and homemade rather than perfectly polished.
- Cut one slice from the chilled two layer cake and place that single portion on a white plate so the dark tender crumb and thick frosting stripe between the layers are clearly visible.
Keep the slice slightly imperfect with a few loose crumbs and a small smear of frosting at the base so the final serving looks freshly cut and naturally homemade.
Notes
Pro Tips:
- Measure the flour and cocoa lightly because packing either one can make the cake dense instead of soft and tender.
- Use room temperature eggs and buttermilk so the batter blends evenly and the baked layers rise with a finer crumb.
- Let both cake layers cool completely before frosting because even slight warmth can soften the buttercream and cause slipping.
- Add black gel coloring gradually because black cocoa already gives strong color and too much gel can affect the frosting texture.
Storage: Keep the fully frosted Black Velvet Cake covered at cool room temperature for up to one day when the room stays comfortably cool and dry.
For longer storage refrigerate the cake in an airtight container for up to four days so the frosting stays protected and the crumb does not absorb refrigerator odors.
Bring chilled slices to room temperature for about 30 minutes before serving because the buttercream softens and the cocoa crumb becomes more tender as it warms.
To freeze individual slices wrap each portion tightly and place the wrapped pieces in a freezer safe container for up to two months then thaw them overnight in the refrigerator before bringing them to room temperature.
- Prep Time: 30 minutes
- Cook Time: 30 minutes
- Category: Dessert
- Cuisine: American