Our family discovered these Strawberry Shortcake Yogurt Cups during the height of summer. Our boys were hosting a cousin from Detroit at our remote lake cottage where they frolicked in the lake during the day and toasted marshmallows around the bonfire every night.
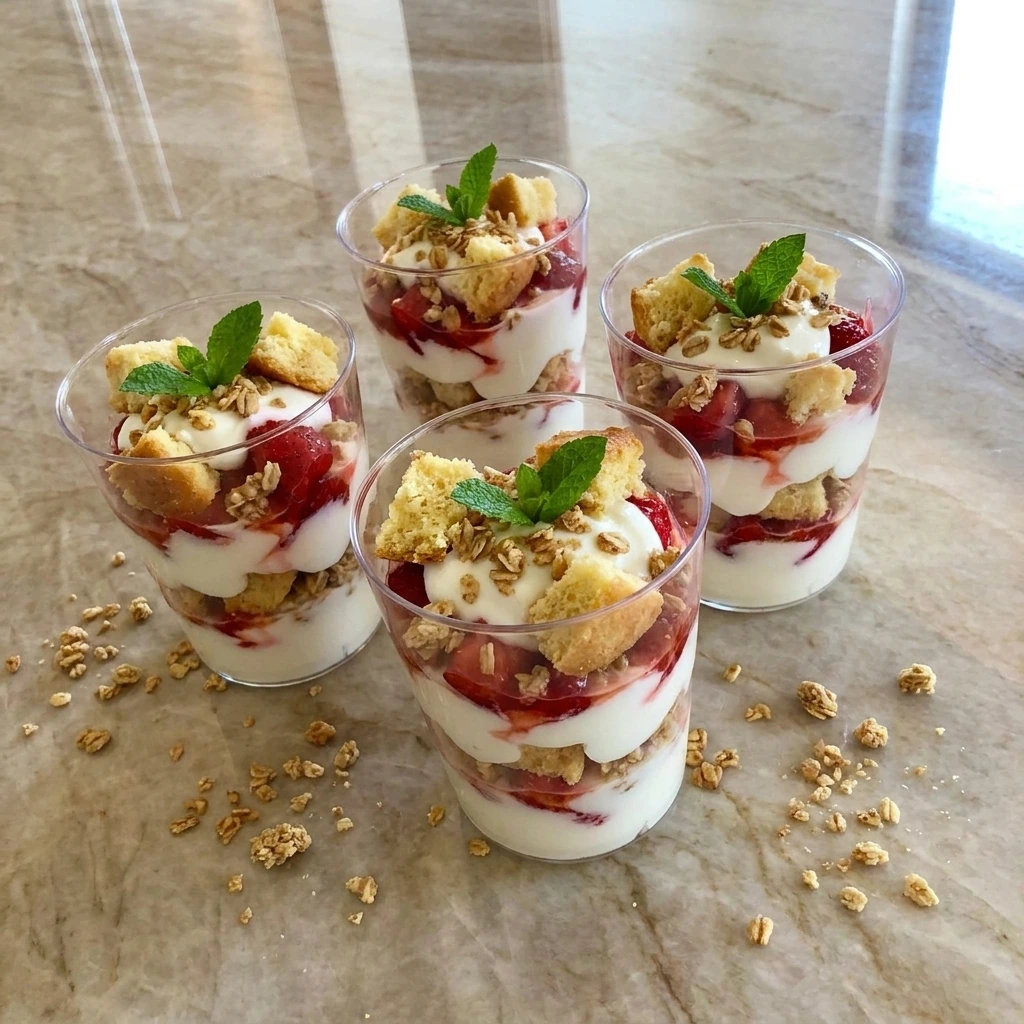
That was one of my best weeks of the year and these easy yogurt cups quickly became one of my favorite strawberry recipes. They are especially lovely beside a batch of Cranberry Orange Muffins for a relaxed family brunch.
I will never forget the first time I made these and the look on the kids’ faces when they tasted them. Read on as I show you how to make this unforgettable family treat.
Ingredients
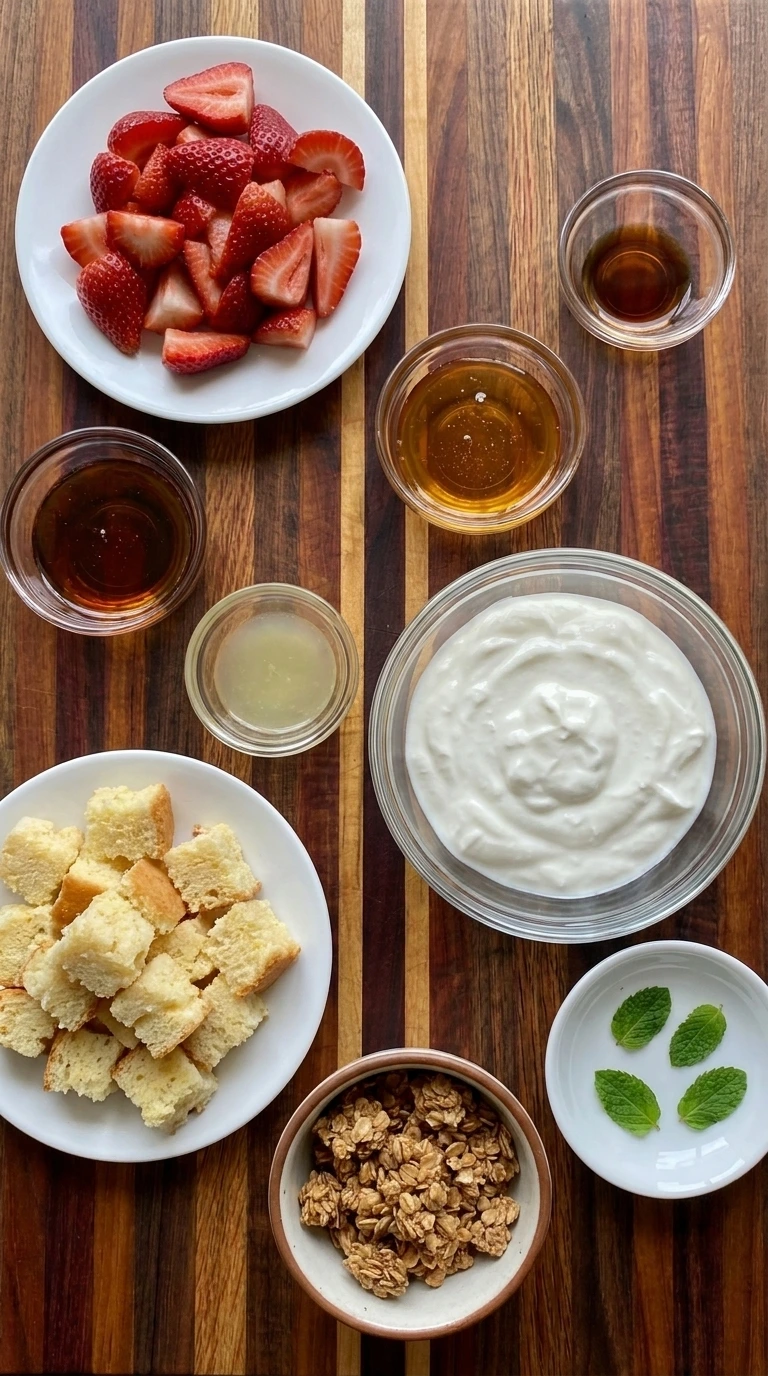
Here is what I use for this recipe and you can adjust nuts or spices based on preference:
- Fresh strawberries: Provide the juicy fruit layer and bright strawberry flavor after being sliced into irregular pieces.
- Pure maple syrup: Draws out the strawberry juices and adds gentle sweetness without making the fruit heavy.
- Fresh lemon juice: Brightens the berries and balances their sweetness with a light fresh tang.
- Plain Greek yogurt: Creates the thick creamy layer and adds protein that helps make each cup satisfying.
- Honey: Sweetens the yogurt while keeping its flavor soft and naturally floral.
- Vanilla extract: Adds a warm bakery style flavor that connects the yogurt with the shortcake crumbs.
- Shortcake or pound cake: Forms tender golden layers that absorb a little berry juice while keeping some soft texture.
- Maple Pecan Granola: Adds a crisp contrast and a lightly toasted finish between the creamy and juicy layers.
- Fresh mint leaves: Finish the four cups with a fresh green accent and a light herbal aroma.
Tools You’ll Need
- Sharp knife: Slices the strawberries into varied pieces while keeping the fruit from becoming crushed.
- Wooden cutting board: Provides a stable area for slicing berries and breaking the shortcake into rustic pieces.
- Two mixing bowls: Keep the macerated strawberries separate from the creamy vanilla yogurt mixture.
- Flexible spatula: Folds the yogurt and fruit mixtures gently while preserving their thick textures.
- Measuring cups and spoons: Measure each ingredient accurately so the four dessert cups have balanced layers.
- Four clear dessert cups: Display the distinct strawberry and yogurt and shortcake layers while holding individual portions.
Instructions
Step 1: Macerate the sliced strawberries
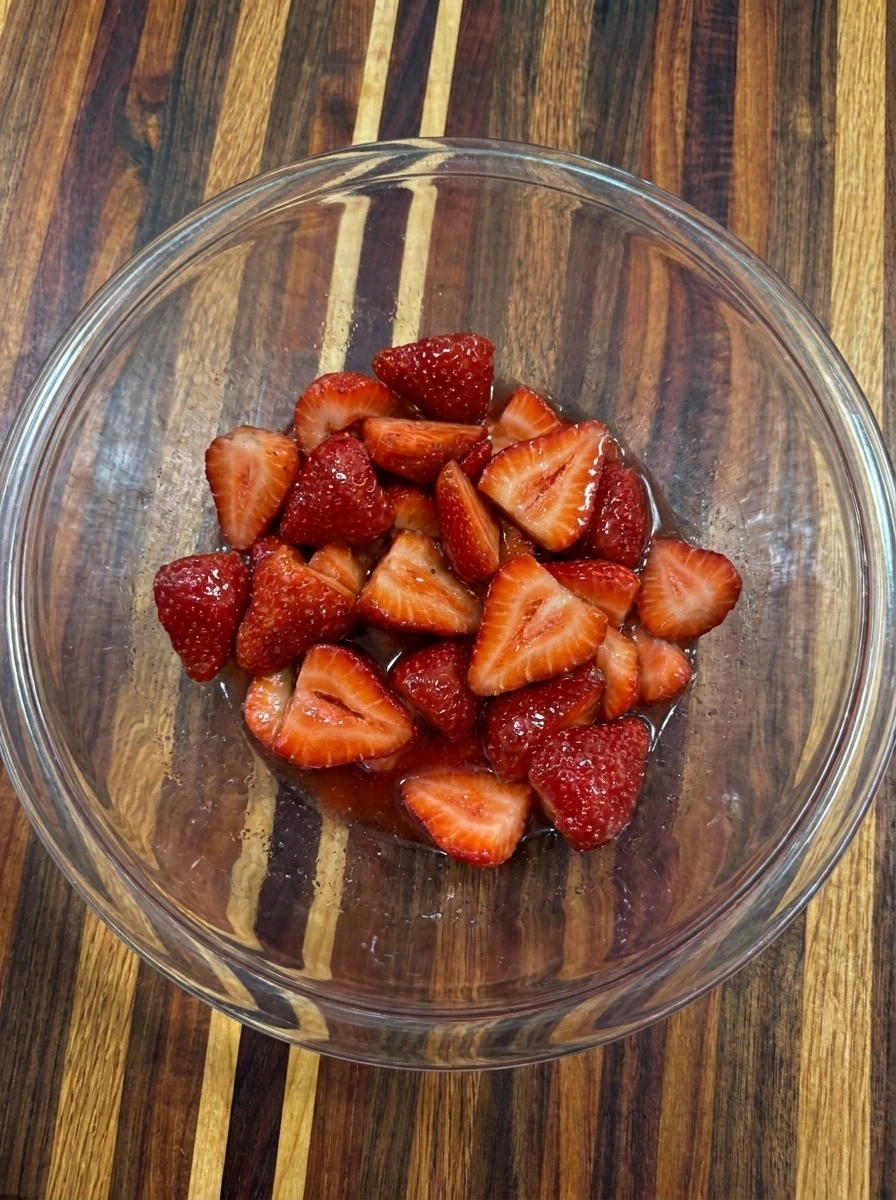
Slice the two cups of strawberries into uneven pieces so some slices remain broad while others become smaller chunks. Fold them with the maple syrup and lemon juice until the fruit looks lightly glazed. Leave the berries for five minutes until their surfaces soften slightly and a bright red juice gathers beneath them. The pieces should remain distinct rather than turning into a smooth sauce.
Tip: Keep the strawberry pieces irregular so the finished layers look homemade and every spoonful has a different fruit texture.
Step 2: Blend the vanilla yogurt
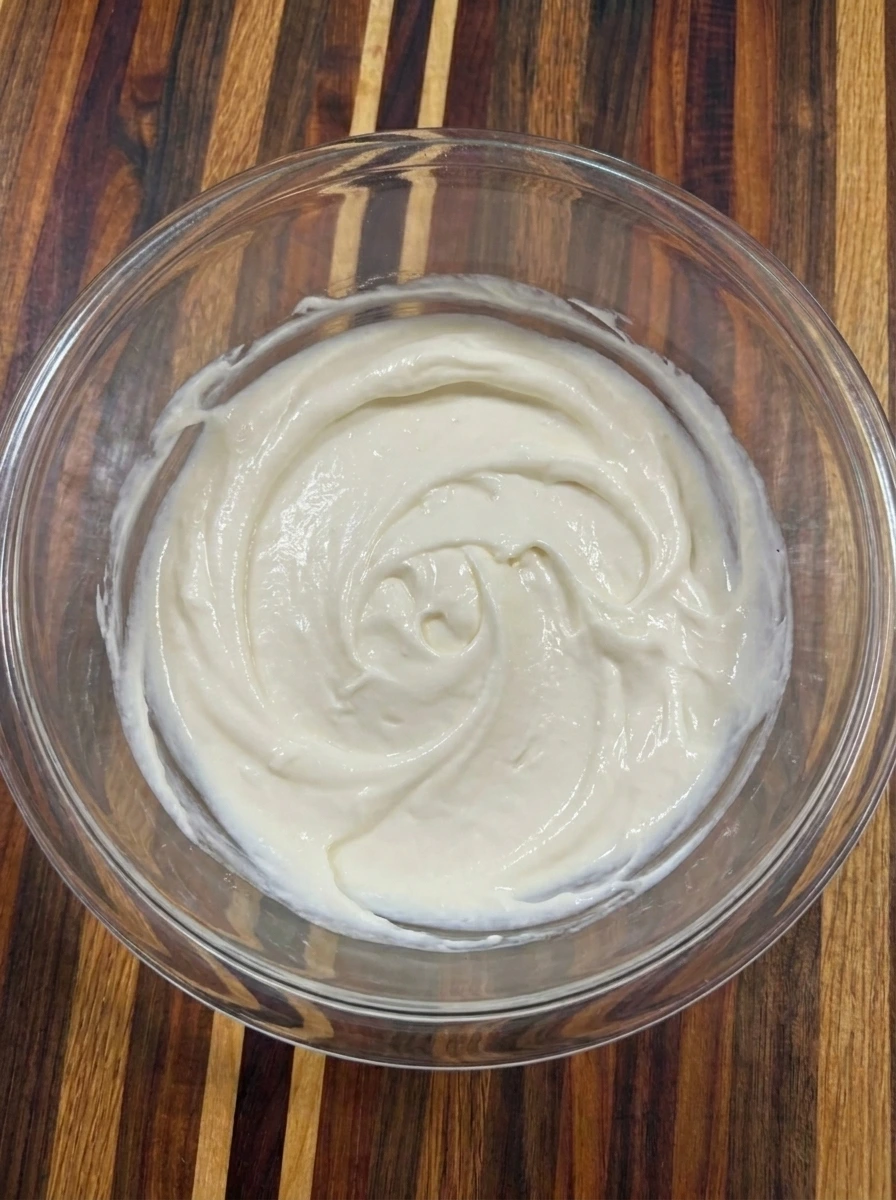
Combine the two cups of Greek yogurt with the honey and vanilla until the separate streaks disappear. The yogurt should change from plain white to a softly speckled creamy mixture. Fold gently so the finished yogurt stays thick enough to hold visible layers. Leave a few natural swirls rather than making the surface perfectly smooth.
Tip: Use thick Greek yogurt so the fruit and cake remain suspended instead of sinking into loose yogurt.
Step 3: Break the shortcake into rustic pieces
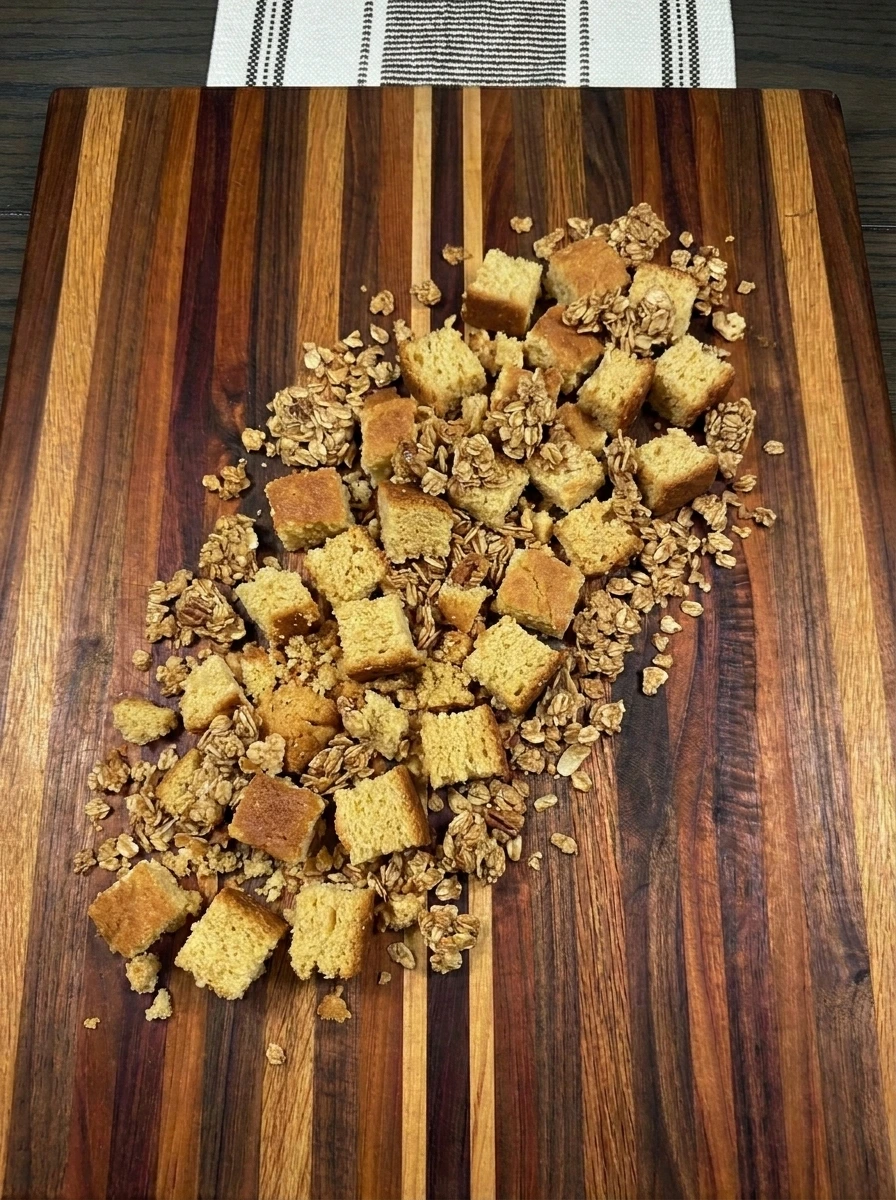
Break the two cups of shortcake into irregular cubes and coarse crumbs. Keep a mixture of soft bite sized pieces and smaller golden fragments so the cups have changing texture. Scatter the one half cup of granola through the cake pieces without fully combining them. The crisp clusters should remain visible among the softer crumbs.
Tip: Avoid crushing every cake piece finely because larger chunks create the recognizable shortcake texture in each cup.
Step 4: Layer the yogurt cups
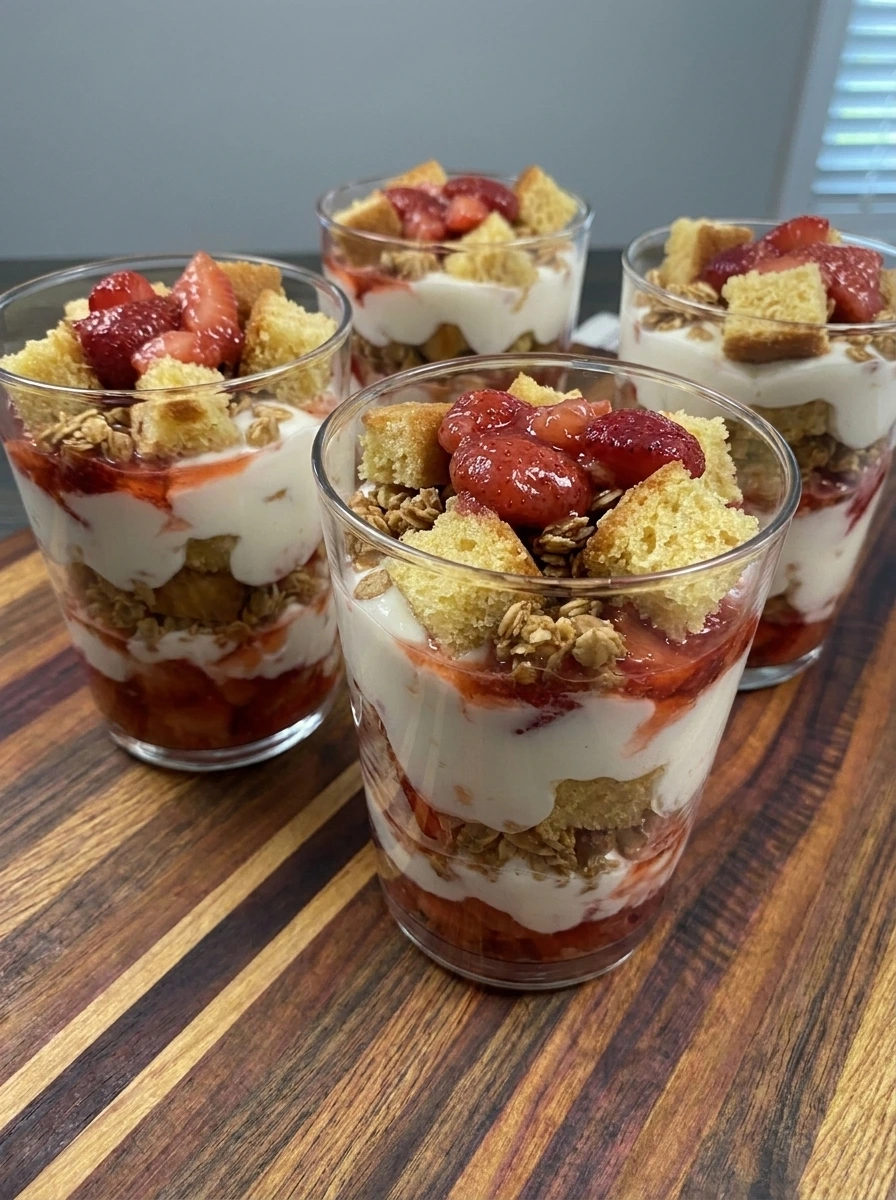
Divide half of the shortcake mixture between four clear dessert cups and place the pieces unevenly across the bottoms. Spoon in half of the vanilla yogurt and then add half of the juicy strawberries with some juice trailing down the sides. Repeat the layers with the remaining cake and yogurt and strawberries. Shift the ingredients slightly in every cup so the layers look casual and no two servings appear identical.
Tip: Spoon a little strawberry juice against the cup walls so the bright red streaks remain visible through the yogurt.
Step 5: Finish and serve one chilled cup
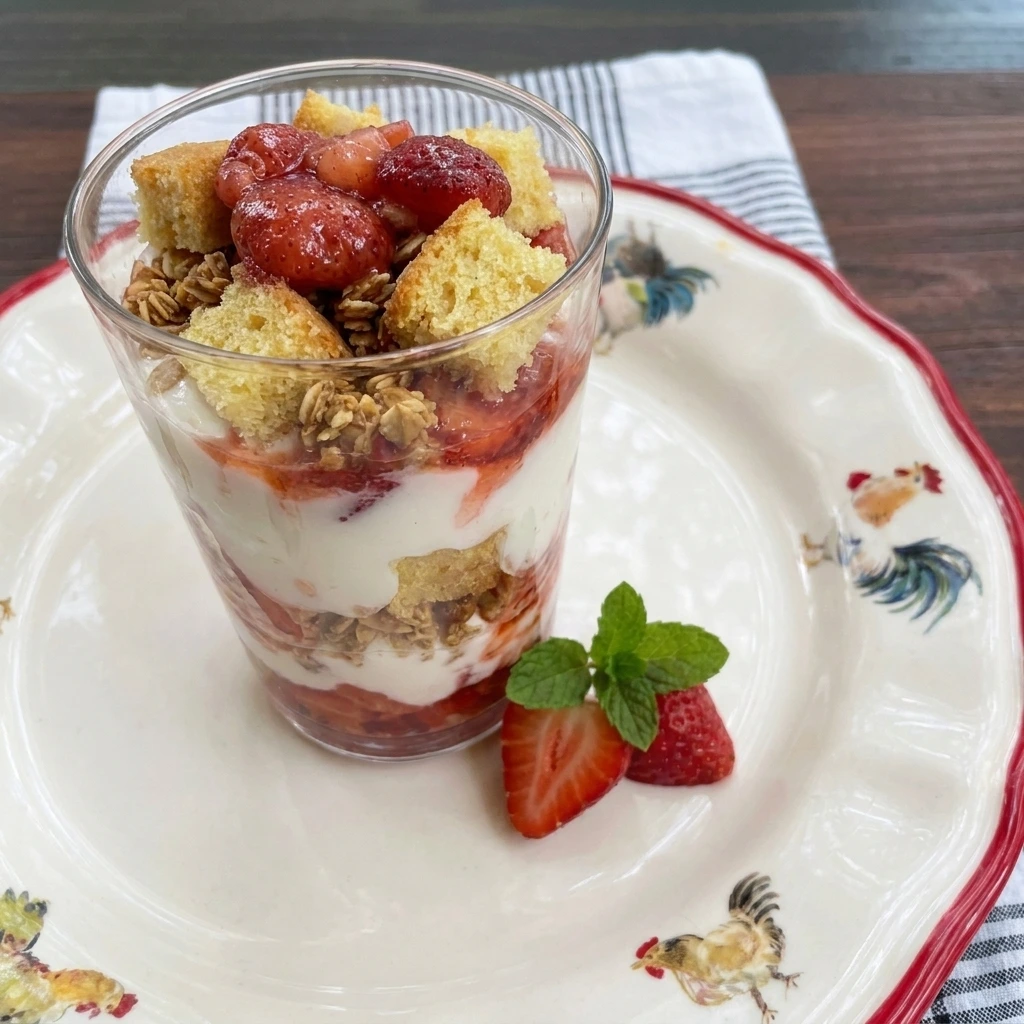
Place one of the four finished cups on a white plate and add one small mint leaf to the top. Leave the strawberry pieces and golden crumbs loosely arranged so the serving looks fresh and homemade. Show the spoonable interior through the clear cup with creamy yogurt pressed between soft cake pieces and juicy berries. The golden cake edges and uneven berry color should remain visible.
Tip: Serve the cups soon after layering for crisp granola or chill briefly for softer cake that absorbs more strawberry juice.
Pro Tips
- Choose ripe but firm strawberries because very soft berries release too much liquid and can make the cake layer soggy.
- Add the granola shortly before serving when you want a crisp texture that contrasts with the creamy yogurt.
- Cut the shortcake into mixed sizes so some pieces absorb berry juice while others remain tender and visibly golden.
- Chill the assembled cups for no longer than two hours when you want defined layers and a fresh strawberry texture.
Storage Instructions
Cover each assembled cup tightly and refrigerate it for up to two days. The flavor remains pleasant although the shortcake becomes softer as it absorbs strawberry juice. For firmer cake and crunchy granola store the strawberry mixture and yogurt mixture and dry ingredients in separate covered containers. Assemble the cups shortly before serving. Do not freeze the finished cups because thawed yogurt can separate and fresh strawberries can become watery. The creamy texture and visible layers are best enjoyed chilled. Keep leftover macerated strawberries refrigerated in a sealed container for up to two days. Stir them gently before using because the red juices naturally settle at the bottom.
Frequently Asked Questions
Yes. Assemble them up to two hours ahead and keep them chilled so the layers stay fresh and distinct.
Thick plain or vanilla Greek yogurt works best because it holds the fruit and cake without becoming watery.
Fresh berries give the best texture though thawed frozen berries can work when their excess liquid is drained.
Add the granola just before serving and keep it away from the juicy strawberry layer until the final assembly.
See You in the Kitchen
I hope you try these Strawberry Shortcake Yogurt Cups soon!
It is a simple recipe that looks beautiful and tastes incredible and makes every occasion a little more special beside Maple Pecan Granola or Cranberry Apple Crisp.
Do not forget to share your results or save this recipe for later because it is one worth keeping.
Print
Strawberry Shortcake Yogurt Cups
- Total Time: 15 minutes
- Yield: 4 servings
Description
These Strawberry Shortcake Yogurt Cups are an easy and healthy treat with juicy berries plus creamy yogurt and tender cake crumbs. They are quick to layer and simple enough for busy afternoons while still feeling like the best little dessert for brunch or a party. Make them for meal prep or a holiday table or a potluck and enjoy fresh strawberry flavor in every spoonful with a light texture that both kids and adults will love. Clear cups make each homemade layer inviting.
Ingredients
- 2 cups Fresh strawberries
- 1 tablespoon Pure maple syrup
- 1 teaspoon Fresh lemon juice
- 2 cups Plain Greek yogurt
- 2 tablespoons Honey
- 1 teaspoon Vanilla extract
- 2 cups cubed Shortcake or pound cake
- 1/2 cup Maple Pecan Granola
- 4 small leaves Fresh mint leaves
Instructions
- Slice the two cups of strawberries into uneven pieces so some slices remain broad while others become smaller chunks. Fold them with the maple syrup and lemon juice until the fruit looks lightly glazed. Leave the berries for five minutes until their surfaces soften slightly and a bright red juice gathers beneath them. The pieces should remain distinct rather than turning into a smooth sauce.
- Combine the two cups of Greek yogurt with the honey and vanilla until the separate streaks disappear. The yogurt should change from plain white to a softly speckled creamy mixture. Fold gently so the finished yogurt stays thick enough to hold visible layers. Leave a few natural swirls rather than making the surface perfectly smooth.
- Break the two cups of shortcake into irregular cubes and coarse crumbs. Keep a mixture of soft bite sized pieces and smaller golden fragments so the cups have changing texture. Scatter the one half cup of granola through the cake pieces without fully combining them. The crisp clusters should remain visible among the softer crumbs.
- Divide half of the shortcake mixture between four clear dessert cups and place the pieces unevenly across the bottoms. Spoon in half of the vanilla yogurt and then add half of the juicy strawberries with some juice trailing down the sides. Repeat the layers with the remaining cake and yogurt and strawberries. Shift the ingredients slightly in every cup so the layers look casual and no two servings appear identical.
- Place one of the four finished cups on a white plate and add one small mint leaf to the top. Leave the strawberry pieces and golden crumbs loosely arranged so the serving looks fresh and homemade. Show the spoonable interior through the clear cup with creamy yogurt pressed between soft cake pieces and juicy berries. The golden cake edges and uneven berry color should remain visible.
Notes
Pro Tips:
- Choose ripe but firm strawberries because very soft berries release too much liquid and can make the cake layer soggy.
- Add the granola shortly before serving when you want a crisp texture that contrasts with the creamy yogurt.
- Cut the shortcake into mixed sizes so some pieces absorb berry juice while others remain tender and visibly golden.
- Chill the assembled cups for no longer than two hours when you want defined layers and a fresh strawberry texture.
Storage: Cover each assembled cup tightly and refrigerate it for up to two days. The flavor remains pleasant although the shortcake becomes softer as it absorbs strawberry juice. For firmer cake and crunchy granola store the strawberry mixture and yogurt mixture and dry ingredients in separate covered containers. Assemble the cups shortly before serving. Do not freeze the finished cups because thawed yogurt can separate and fresh strawberries can become watery. The creamy texture and visible layers are best enjoyed chilled. Keep leftover macerated strawberries refrigerated in a sealed container for up to two days. Stir them gently before using because the red juices naturally settle at the bottom.
- Prep Time: 15 minutes
- Cook Time: 0 minute
- Category: Dessert
- Cuisine: American