This Raspberry Icebox Cake recipe is an easy and comforting dessert that comes together so quickly in the fridge! With tender cookie layers not soggy!
and bright raspberries and fluffy cream. We love summer because it means that easy treats like this Raspberry Icebox Cake are back on the table and if you love easy family recipes try our Crockpot Tuscan Chicken for dinner before dessert.
Comfort desserts especially those that feel light and bring everyone back for another slice are my favorite kinds of treats.
Ingredients
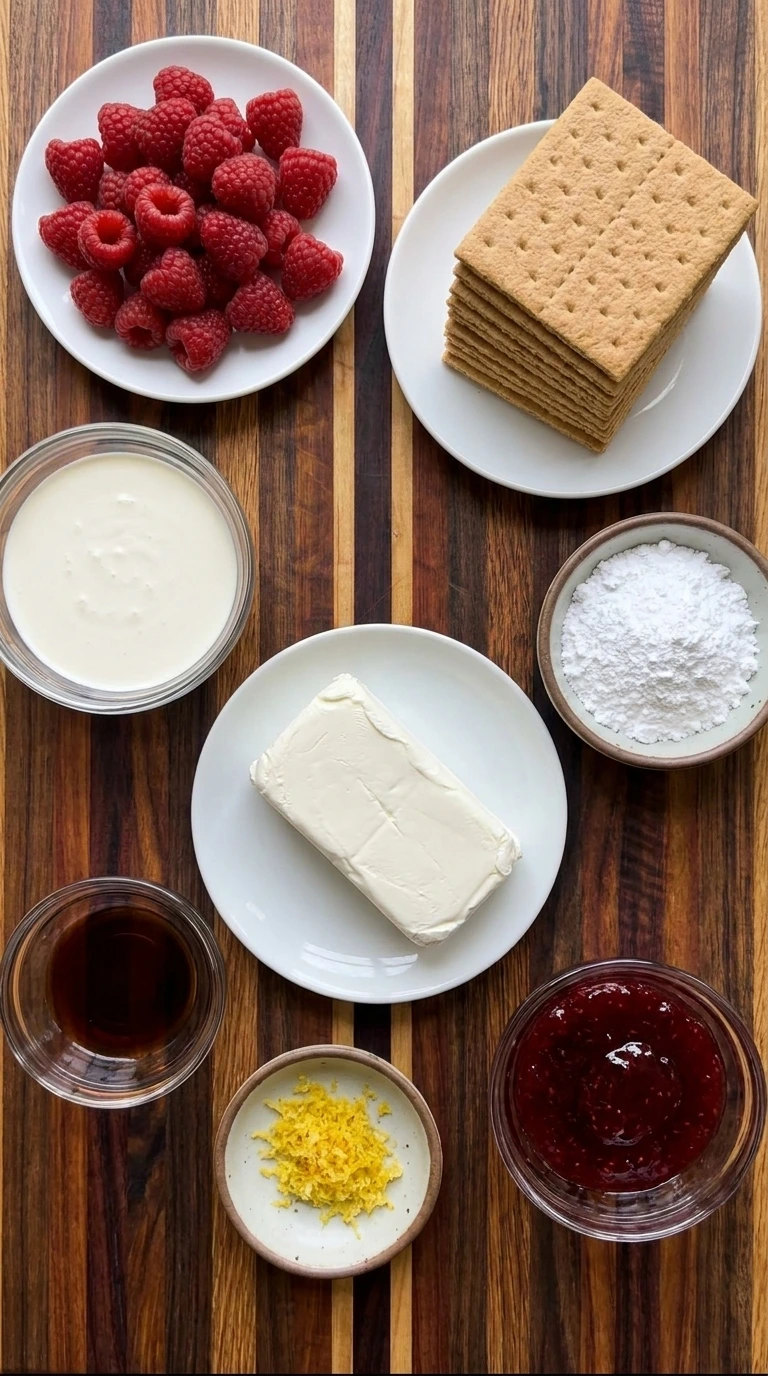
Here is what I use for this recipe and you can adjust nuts or spices based on preference:
- Fresh raspberries: Adds juicy berry flavor and bright color between the creamy layers.
- Graham crackers: Softens in the cream to create tender cake like layers.
- Heavy whipping cream: Whips into a fluffy filling that holds the layers together.
- Cream cheese: Adds creamy body and a slight tang so the filling tastes rich.
- Powdered sugar: Sweetens the cream smoothly without grainy texture.
- Vanilla extract: Rounds out the berry flavor with warm sweetness.
- Lemon zest: Brightens the raspberries and keeps the cream tasting fresh.
- Raspberry jam: Creates sweet berry ribbons through the cream and helps the layers look colorful.
Tools You’ll Need
- Mixing bowl: Used to combine and whip the cream cheese filling.
- Hand mixer: Whips the cream and cream cheese into a smooth fluffy filling.
- Rubber spatula: Folds the filling and spreads layers without deflating the cream.
- Glass baking dish: Holds the layered cake while it chills and sets.
- White plate: Serves one cut slice while showing the creamy layers.
Instructions
Step 1: Whip the cream cheese filling
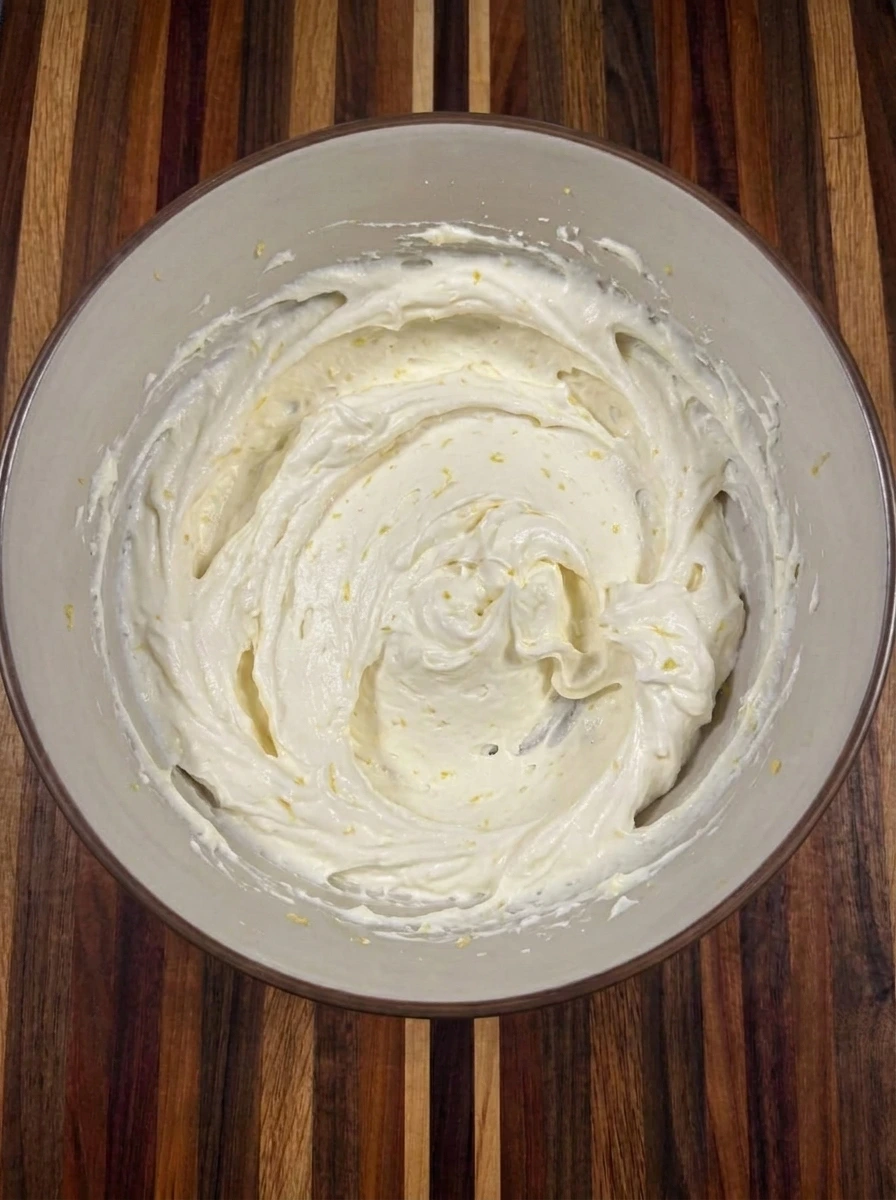
Beat the softened cream cheese with powdered sugar until the mixture changes from dense and lumpy to smooth and thick. Fold in whipped cream until the filling turns pale, fluffy, and spreadable with a few soft swirls still visible.
Tip: Stop folding when the cream looks mostly blended so the filling stays airy and holds the layers cleanly.
Step 2: Spread the first cream layer
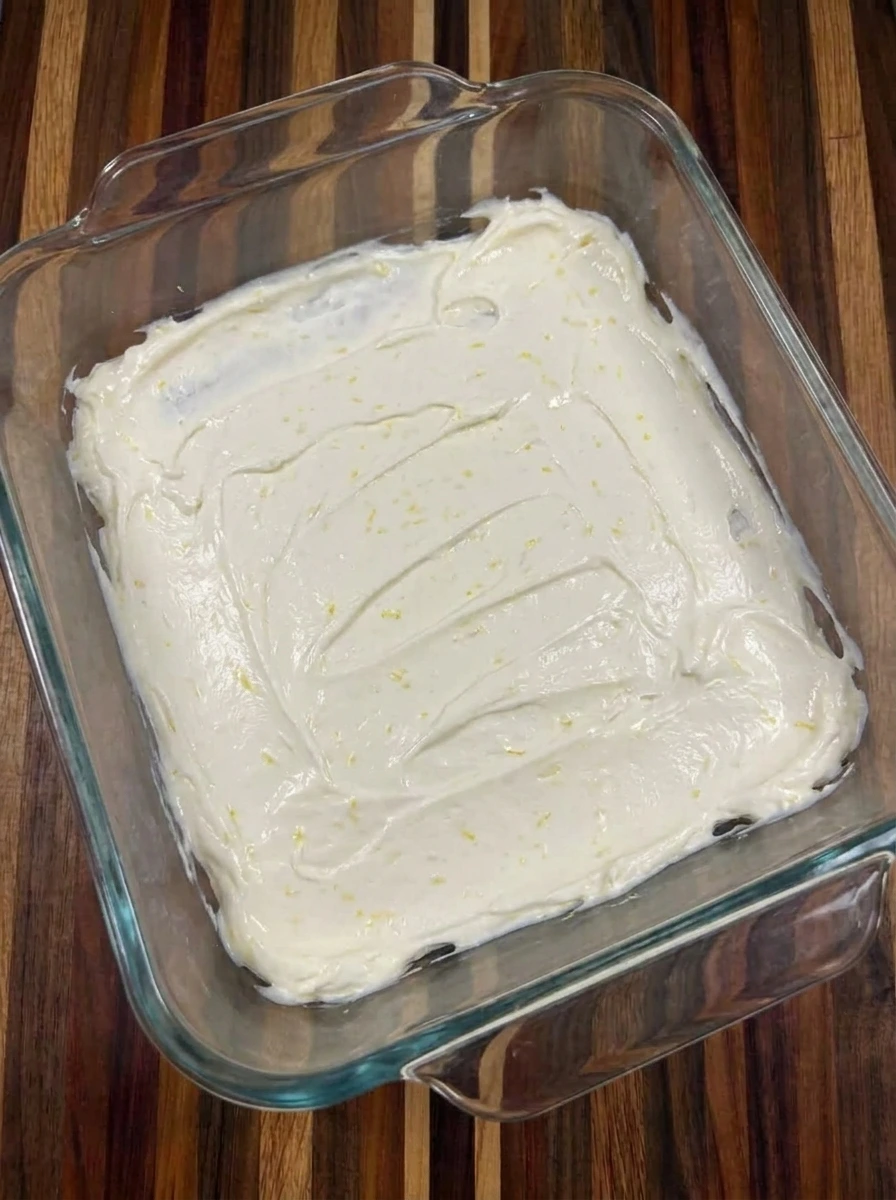
Spoon a thin layer of cream into the glass dish so the bottom changes from empty to softly coated. The cream should sit unevenly in the corners with little ridges that will help the crackers settle into place.
Tip: A thin base layer keeps the crackers from sliding and helps every slice lift out with neat creamy edges.
Step 3: Layer crackers and raspberries
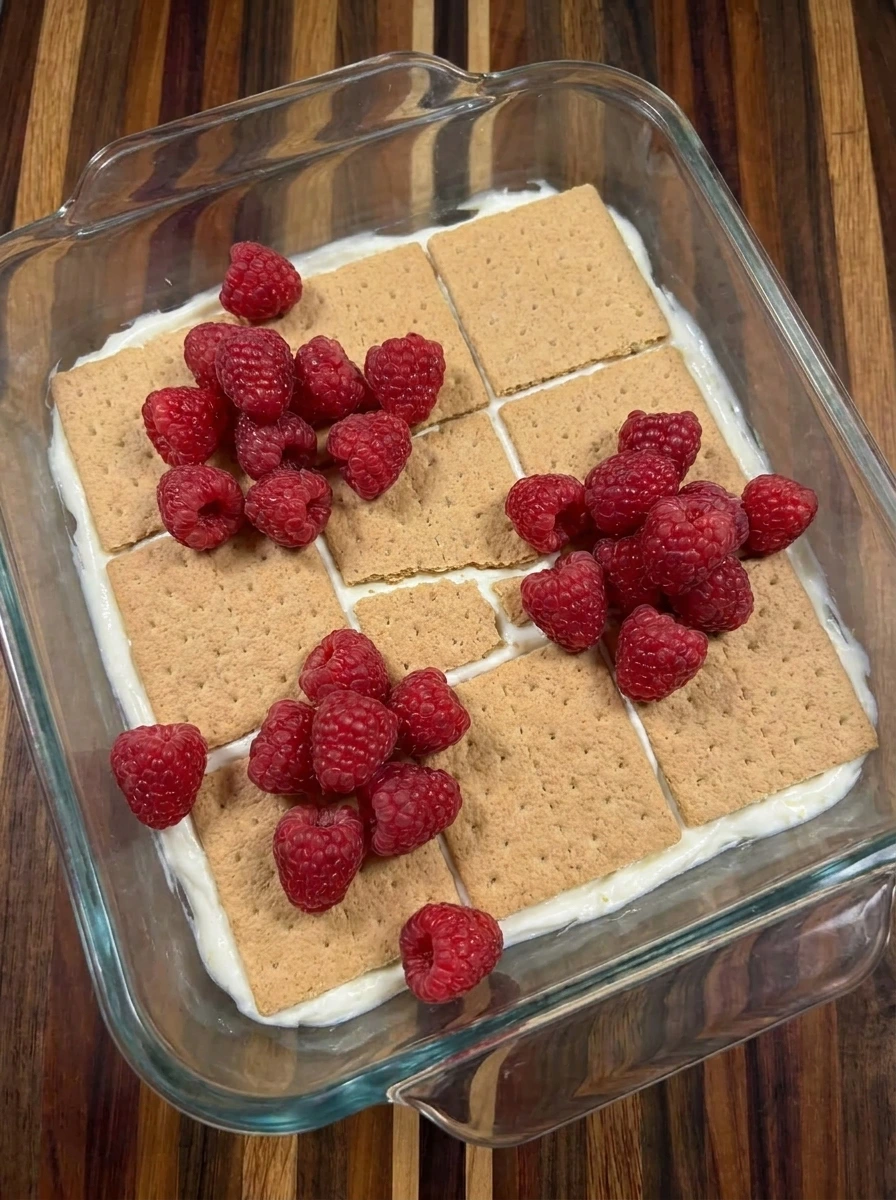
Place graham crackers over the cream so the dish changes into a structured base with visible seams. Scatter raspberries over the crackers in loose clusters so the berries sit unevenly and press lightly into the cream below.
Tip: Break a few crackers to fit the edges instead of forcing perfect rows for a more homemade layered cake.
Step 4: Add jam ribbons and more cream
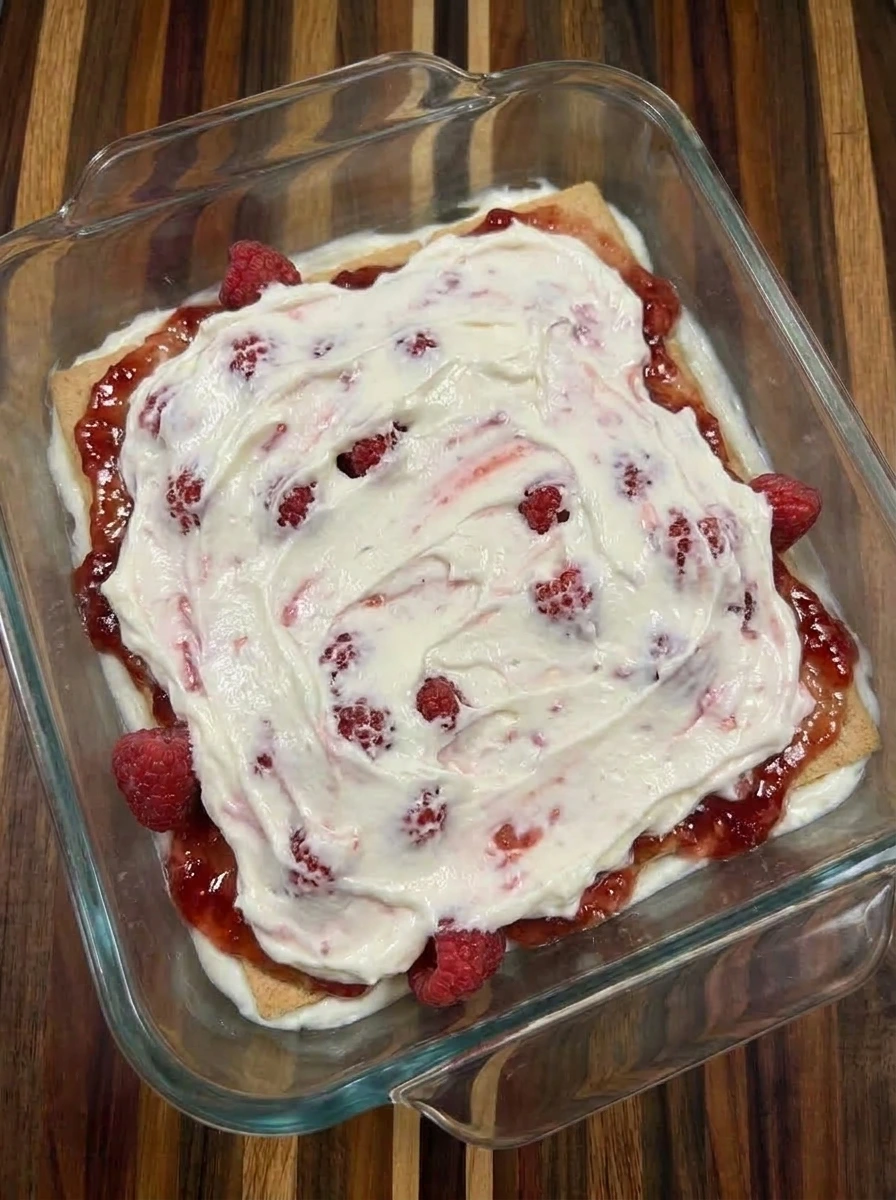
Drizzle raspberry jam over the berries so the layer changes from pale and crisp to streaked with glossy red ribbons. Spread more cream over the top so the jam partially blends into pink swirls while a few berries still peek through.
Tip: Leave some jam streaks visible instead of fully mixing them so each slice has pretty berry ribbons.
Step 5: Build the final chilled layers
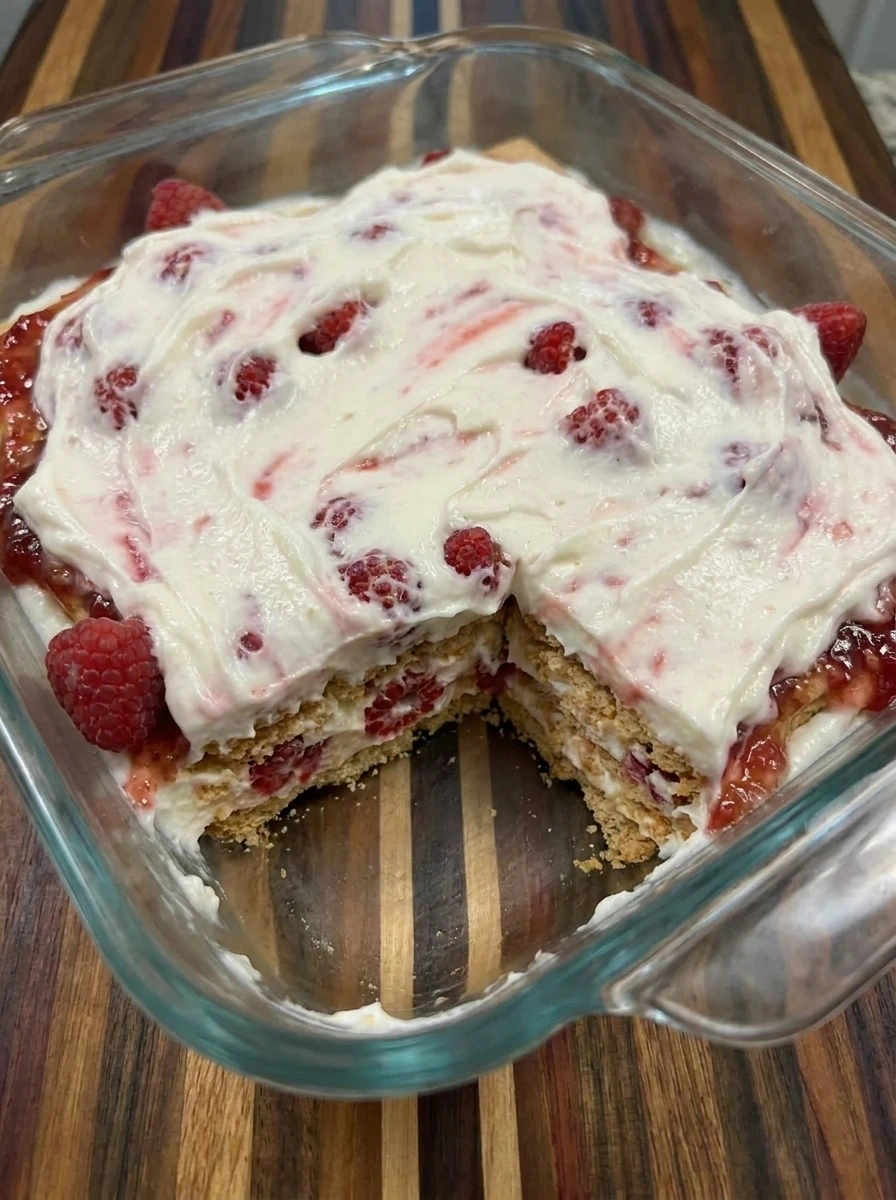
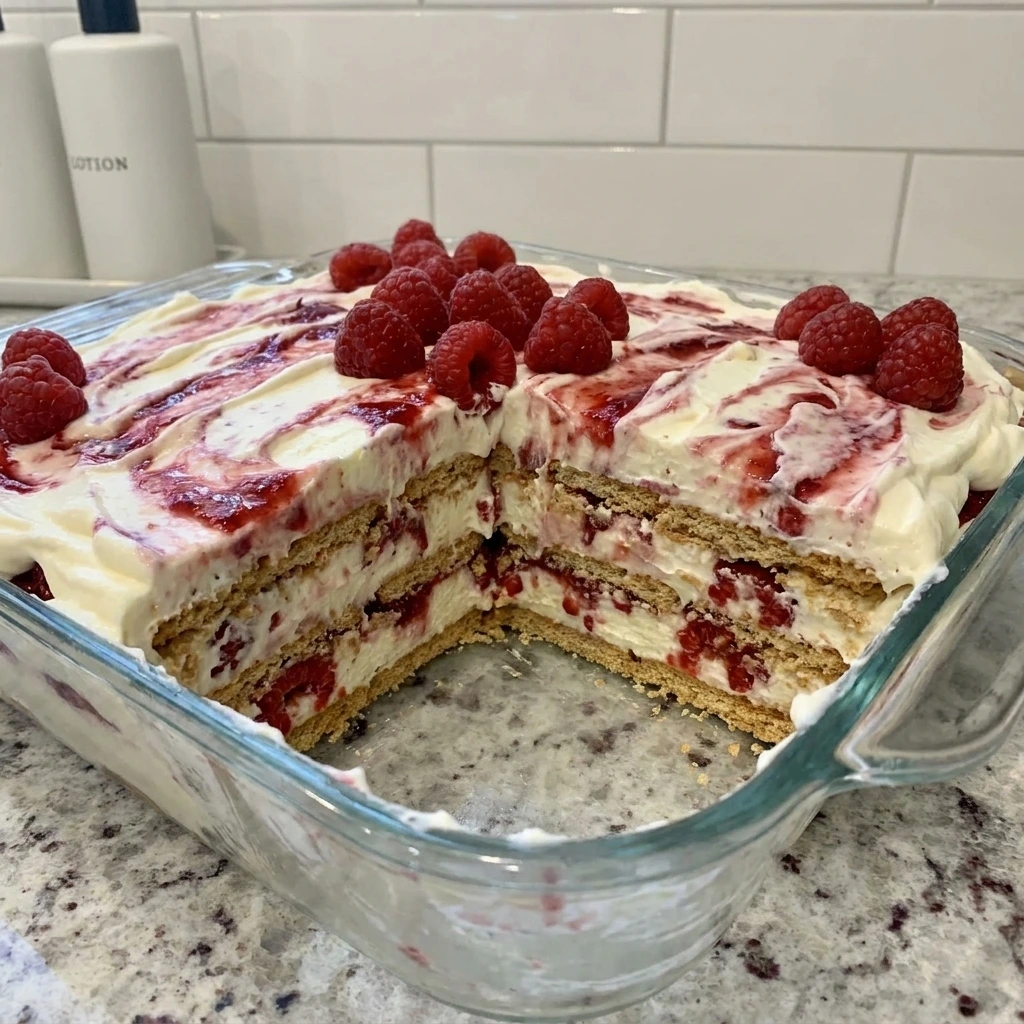
Repeat the crackers, raspberries, jam, and cream so the cake grows taller with visible stacked edges and uneven berry pockets. After chilling, the crackers soften and the cream thickens so the top looks set with gentle ripples instead of loose spread marks.
Tip: Chill the cake until the crackers soften fully so the slices cut like cake instead of separate layers.
Step 6: Serve a layered slice
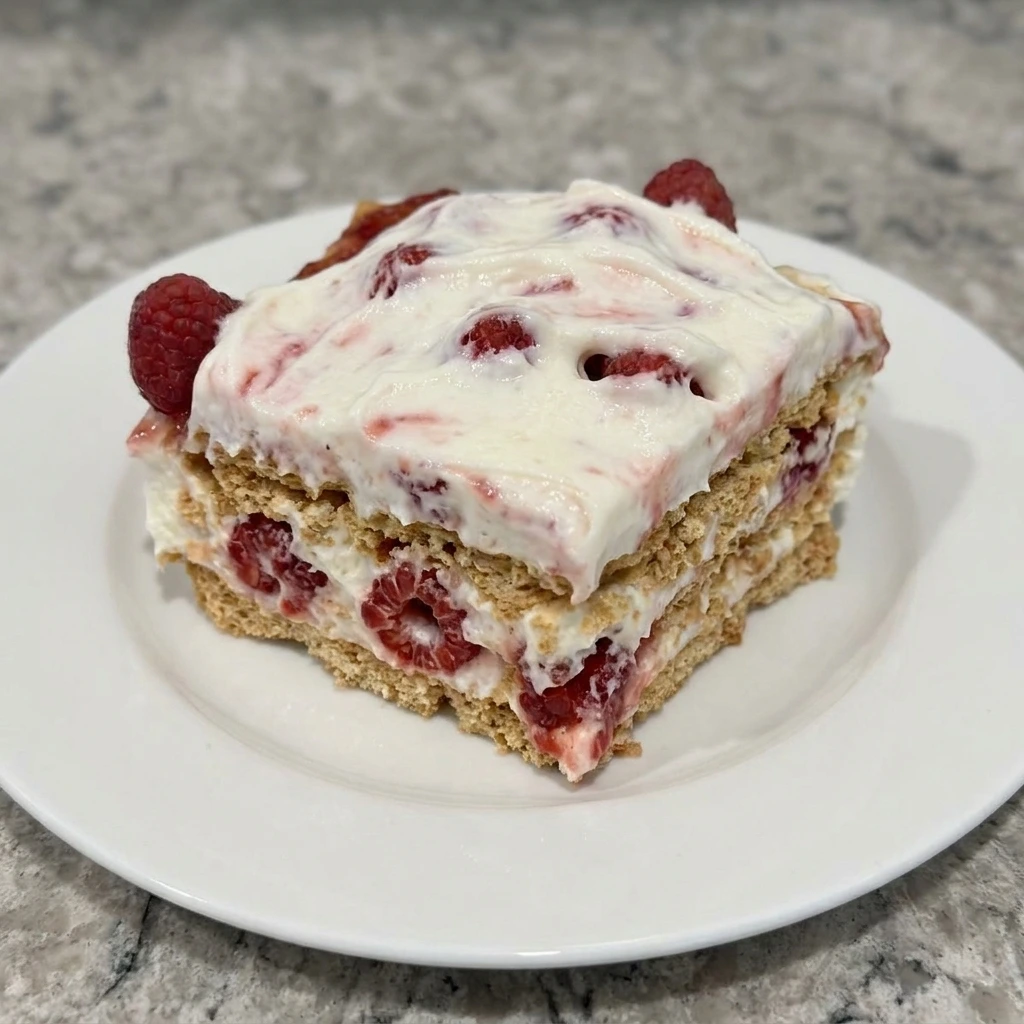
Cut one slice and lift it onto a white plate so the dessert changes from a full chilled cake to a single portion with the inside exposed. The slice should show soft cracker layers, creamy filling, uneven raspberry pockets, and a few natural smears from the cut edge.
Tip: Use a thin spatula and lift slowly so the creamy layers stay visible even if the edges look rustic.
Pro Tips
- Use firm fresh raspberries so they hold their shape while chilling and create pretty berry pockets in each slice.
- Let the cake chill long enough for the crackers to soften into cake like layers without turning mushy or wet.
- Spread the cream unevenly but fully to help the crackers absorb moisture and make clean layered slices.
- Save a few raspberries for the top so the finished cake looks fresh and naturally homemade.
Storage Instructions
Store Raspberry Icebox Cake covered in the refrigerator so the cream stays firm and the berry layers remain fresh. For the best texture, enjoy it within 2 to 3 days because the crackers continue softening as the cake sits. Do not leave the cake at room temperature for long because the cream filling can loosen quickly. Freeze leftovers only if needed, then thaw in the refrigerator and expect a softer texture after defrosting.
Frequently Asked Questions
Yes. Raspberry Icebox Cake is best after chilling overnight because the layers soften and slice cleanly.
Yes but thaw and drain them first so extra juice does not make the creamy layers too loose.
Chill Raspberry Icebox Cake for at least 6 hours or overnight for the best soft layered texture.
Use light cream cheese and a little less sugar while keeping whipped cream for a fluffy set texture.
See You in the Kitchen
I hope you try this Raspberry Icebox Cake soon!
It’s a simple recipe that looks beautiful, tastes incredible, and makes every occasion a little more special after a cozy meal like Crockpot Mississippi Pot Roast or Slow Cooker Beef and Broccoli.
Don’t forget to share your results or save this recipe for later it’s one worth keeping.
Print
Raspberry Icebox Cake
- Total Time: 6 hours 15 minutes
- Yield: 8 servings
Description
This Raspberry Icebox Cake is an easy no bake dessert with creamy layers, juicy berries, and tender cookies that soften into cake like slices. It is quick to assemble, simple to chill, and one of the best healthy-ish dessert ideas for brunch, holiday tables, potluck spreads, weeknight dinner treats, or a party when you need something pretty without turning on the oven.
Ingredients
- 3 cups Fresh raspberries
- 18 full sheets Graham crackers
- 2 cups Heavy whipping cream
- 8 ounces softened Cream cheese
- 3/4 cup Powdered sugar
- 2 teaspoons Vanilla extract
- 1 teaspoon Lemon zest
- 1/2 cup Raspberry jam
Instructions
- Beat the softened cream cheese with powdered sugar until the mixture changes from dense and lumpy to smooth and thick. Fold in whipped cream until the filling turns pale, fluffy, and spreadable with a few soft swirls still visible.
- Spoon a thin layer of cream into the glass dish so the bottom changes from empty to softly coated. The cream should sit unevenly in the corners with little ridges that will help the crackers settle into place.
- Place graham crackers over the cream so the dish changes into a structured base with visible seams. Scatter raspberries over the crackers in loose clusters so the berries sit unevenly and press lightly into the cream below.
- Drizzle raspberry jam over the berries so the layer changes from pale and crisp to streaked with glossy red ribbons. Spread more cream over the top so the jam partially blends into pink swirls while a few berries still peek through.
- Repeat the crackers, raspberries, jam, and cream so the cake grows taller with visible stacked edges and uneven berry pockets. After chilling, the crackers soften and the cream thickens so the top looks set with gentle ripples instead of loose spread marks.
- Cut one slice and lift it onto a white plate so the dessert changes from a full chilled cake to a single portion with the inside exposed. The slice should show soft cracker layers, creamy filling, uneven raspberry pockets, and a few natural smears from the cut edge.
Notes
Pro Tips:
- Use firm fresh raspberries so they hold their shape while chilling and create pretty berry pockets in each slice.
- Let the cake chill long enough for the crackers to soften into cake like layers without turning mushy or wet.
- Spread the cream unevenly but fully to help the crackers absorb moisture and make clean layered slices.
- Save a few raspberries for the top so the finished cake looks fresh and naturally homemade.
Storage: Store Raspberry Icebox Cake covered in the refrigerator so the cream stays firm and the berry layers remain fresh. For the best texture, enjoy it within 2 to 3 days because the crackers continue softening as the cake sits. Do not leave the cake at room temperature for long because the cream filling can loosen quickly. Freeze leftovers only if needed, then thaw in the refrigerator and expect a softer texture after defrosting.
- Prep Time: 15 minutes
- Cook Time: 0 minute
- Category: Dessert
- Cuisine: American