A neighborhood diner serves some of the best mini cheeseburgers I have ever tasted with soft bread and juicy beef and so much melted cheese served with pickles and tomatoes and a creamy burger sauce. Today I will show how I make my Mini Cheeseburger Cups at home easily with easy to find ingredients. Just to know that my Mini Cheeseburger Cups turned out so delicious and so juicy almost like the diner version. I really love this dish.
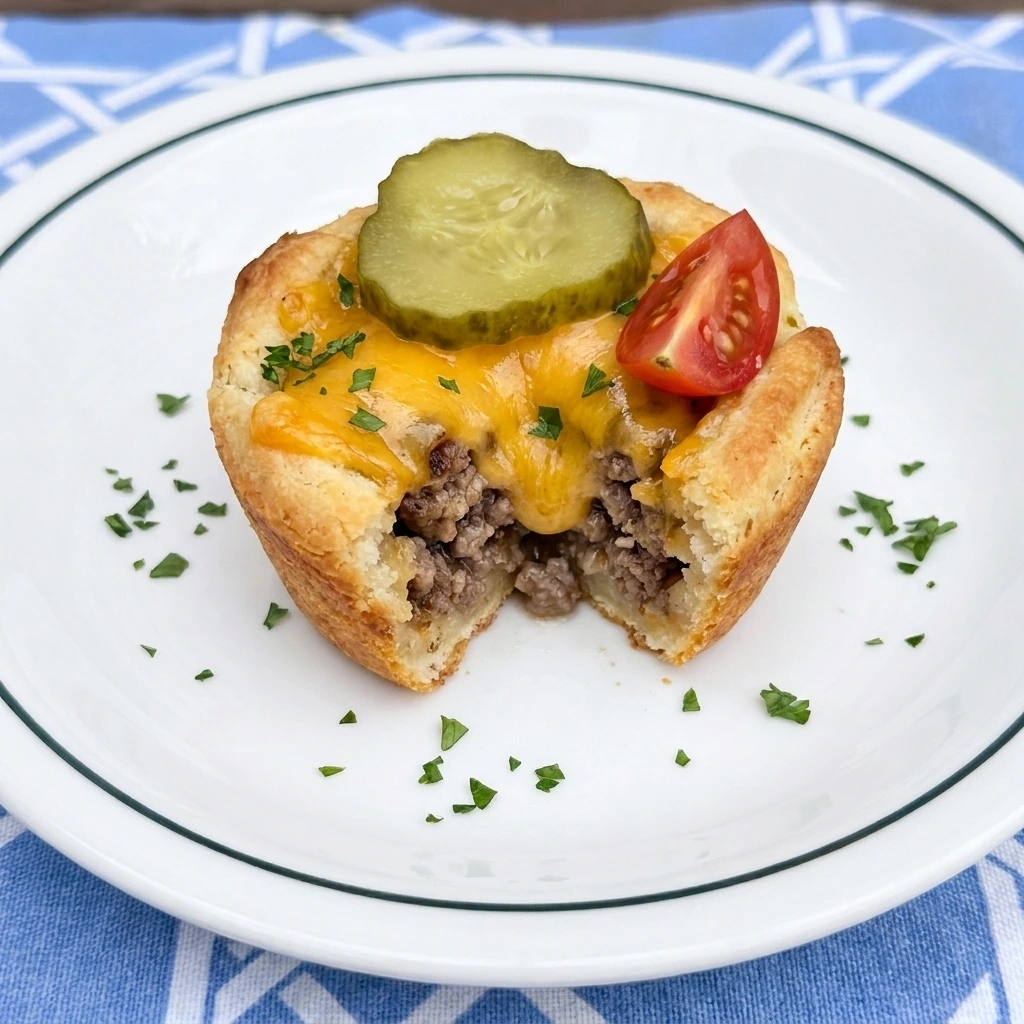
Also I tried the same filling inside Mini Taco Biscuit Cups and the result was even better. So I will leave some tasty other variations below you can try using the same ingredients and same cooking process. Usually mini cheeseburgers are served during casual dinners and weekend parties and they are so incredible. I recommend anyone enjoy them and when you cannot visit your favorite diner you can try out my recipe.
Also for my recipe I use a muffin tin for baking. However I recommend pressing the biscuit dough firmly into each cup before adding the beef. Simply fill every dough cup and bake it until the edges are golden and the cheese is fully melted.
Ingredients
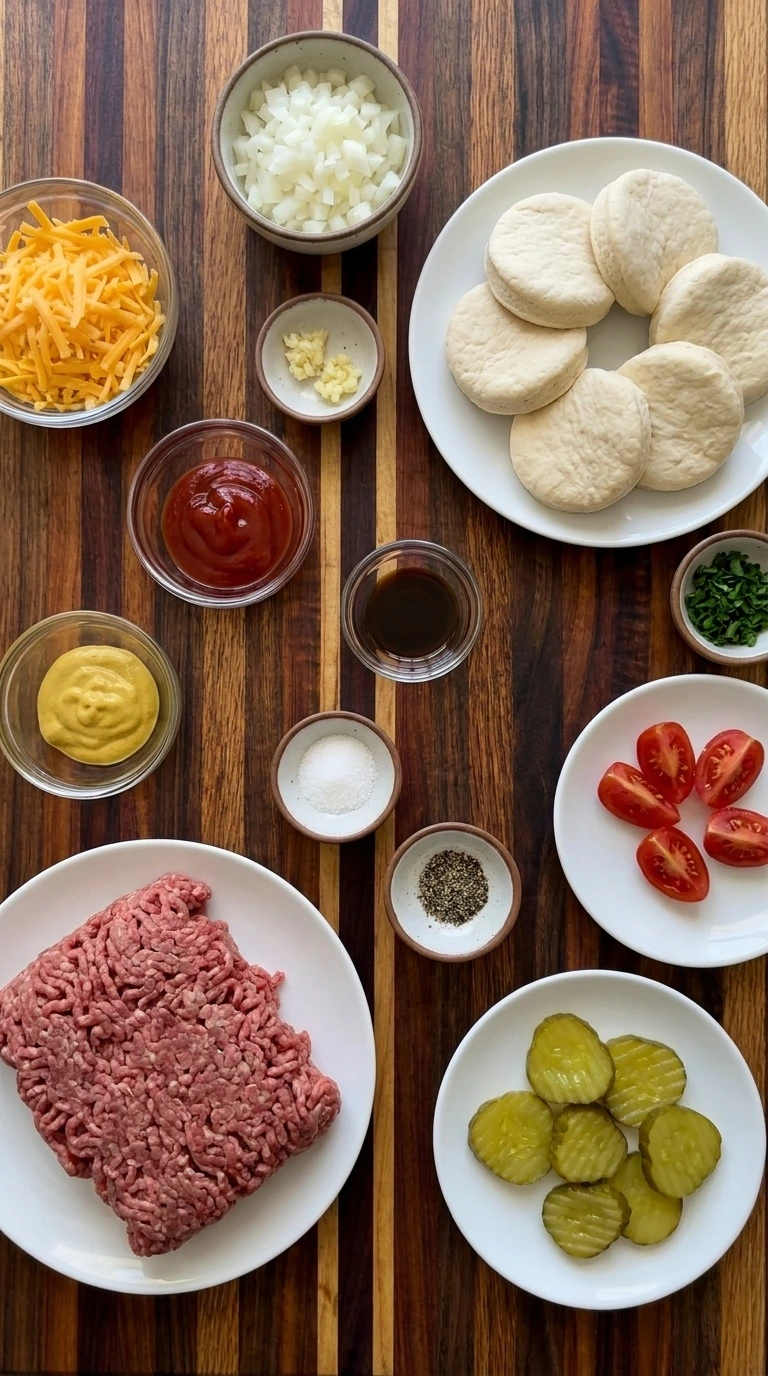
Here is what I use for this recipe and you can adjust nuts or spices based on preference:
- Refrigerated biscuit dough: Forms the soft and flaky cup that holds the cheeseburger filling.
- Lean ground beef: Creates the juicy and savory center while keeping excess grease manageable.
- Yellow onion: Adds gentle sweetness and moisture as it softens with the beef.
- Garlic: Builds a deeper savory flavor throughout the cooked filling.
- Ketchup: Adds tomato sweetness and helps bind the beef mixture.
- Yellow mustard: Provides classic cheeseburger tang and balances the richness.
- Worcestershire sauce: Adds concentrated savory depth to the ground beef.
- Salt: Seasons the beef and sharpens the overall cheeseburger flavor.
- Black pepper: Adds mild warmth and a familiar burger style finish.
- Shredded cheddar cheese: Melts over the filling and creates golden uneven cheesy tops.
- Dill pickle chips: Adds a crisp and tangy topping to each finished cup.
- Cherry tomatoes: Adds fresh color and juicy contrast to the rich filling.
- Chopped parsley: Adds a fresh final garnish and a light herbal note.
Tools You’ll Need
- Large cast iron skillet: Browns the beef and softens the onion while providing enough space for moisture to evaporate.
- Wooden spoon: Breaks the ground beef into irregular crumbles and blends the sauce through the filling.
- Standard 12 cup muffin tin: Shapes and supports the biscuit cups while they bake into individual portions.
- Measuring cups and spoons: Measures the sauces and seasonings so the filling remains balanced and consistent.
- Small knife: Dices the onion and quarters the cherry tomatoes for the filling and garnish.
Instructions
Step 1: Brown the beef with onion and garlic
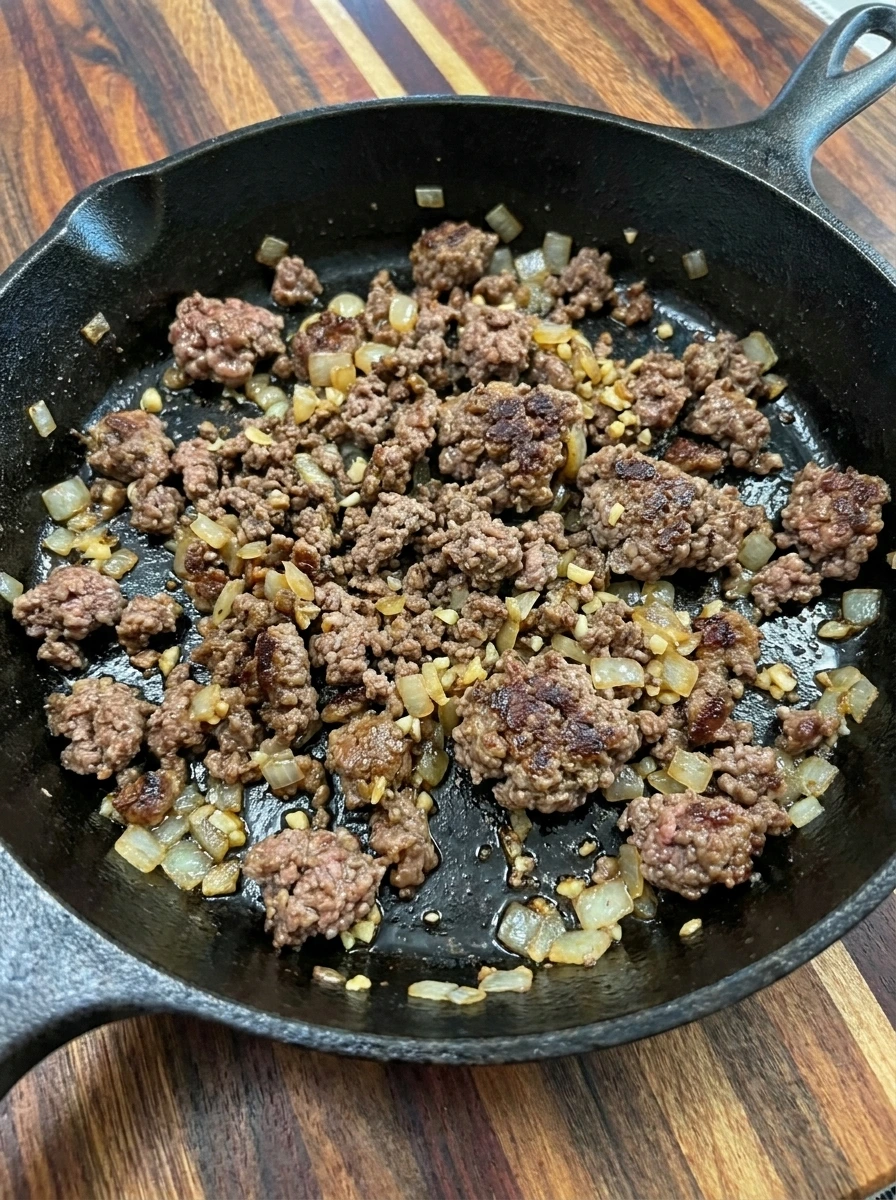
Add the ground beef and diced onion and minced garlic together so the raw pink meat begins breaking into irregular pieces. Cook until the beef changes from pink to browned and the onion becomes soft and translucent. Leave a few larger crumbles for a homemade texture.
Tip: Break the beef into mixed sizes instead of tiny even crumbs so the filling keeps a juicy texture inside each cup.
Step 2: Coat the beef with burger sauce
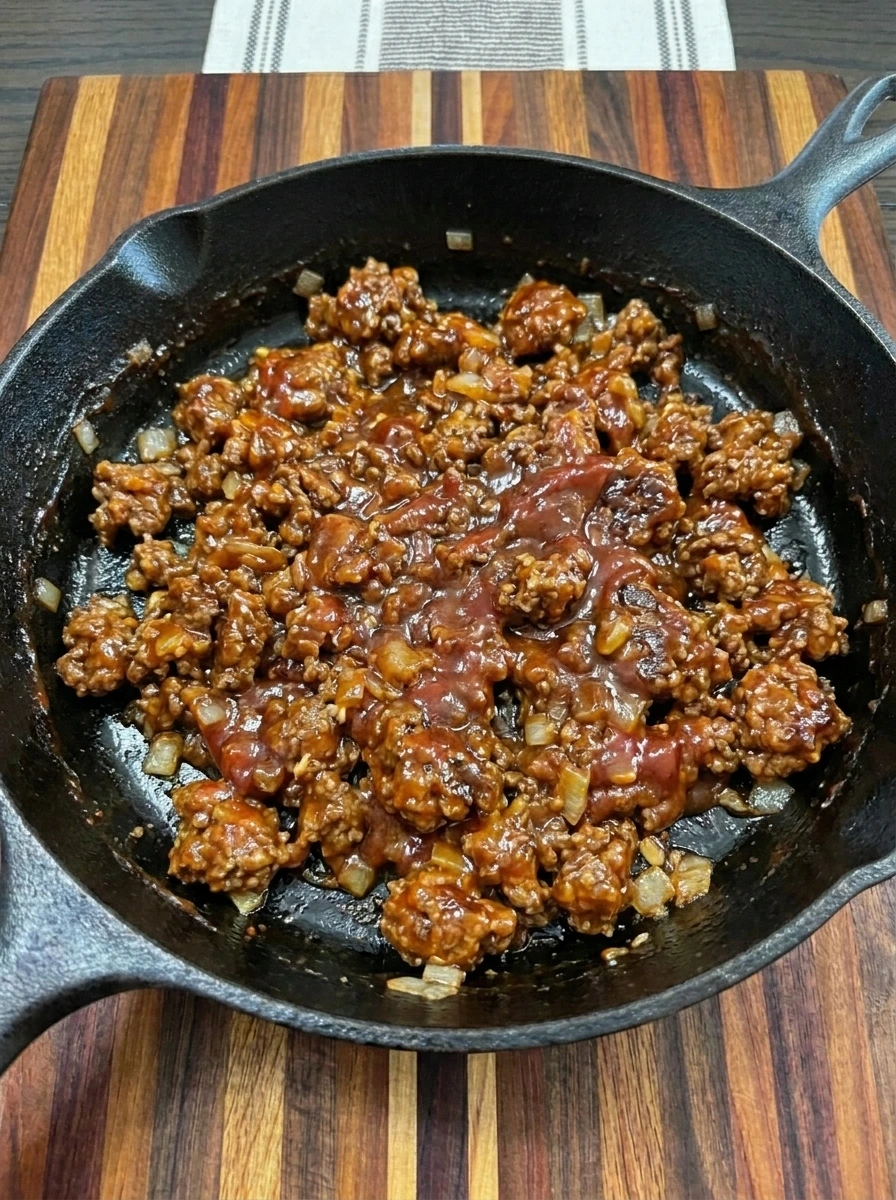
Stir the ketchup and mustard and Worcestershire sauce and salt and black pepper into the browned beef. The loose crumbles become glossy and lightly coated while the mixture thickens enough to hold together without becoming wet.
Tip: Cook the coated filling until it looks glossy rather than runny so the biscuit bottoms stay firm after baking.
Step 3: Press the biscuit dough into cups
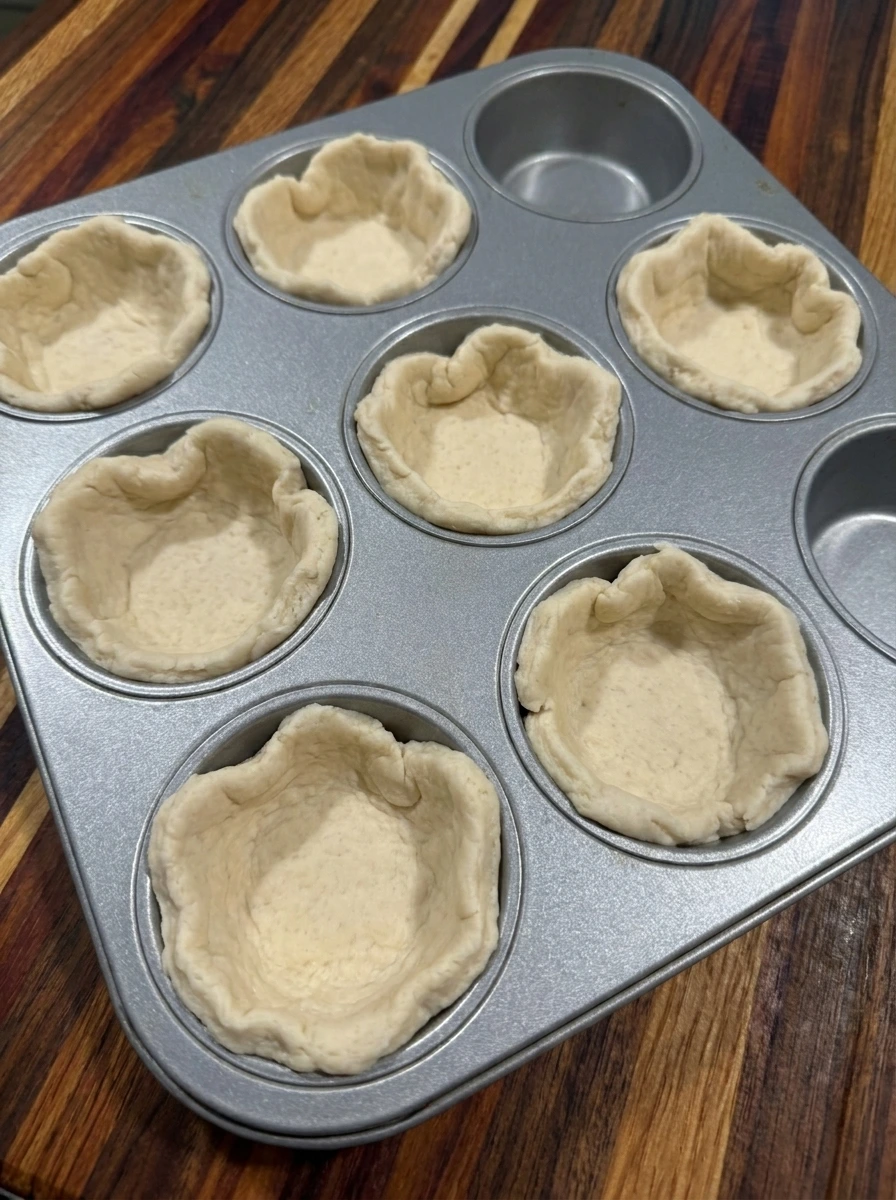
Separate the 8 biscuit rounds and flatten each one slightly so it becomes wider and thinner. Press the dough into 8 muffin wells with uneven rims extending slightly above the edges. Keep the centers open for filling.
Tip: Press the dough higher along the sides because the biscuit edges shrink slightly and puff as they bake.
Step 4: Fill the biscuit cups with beef
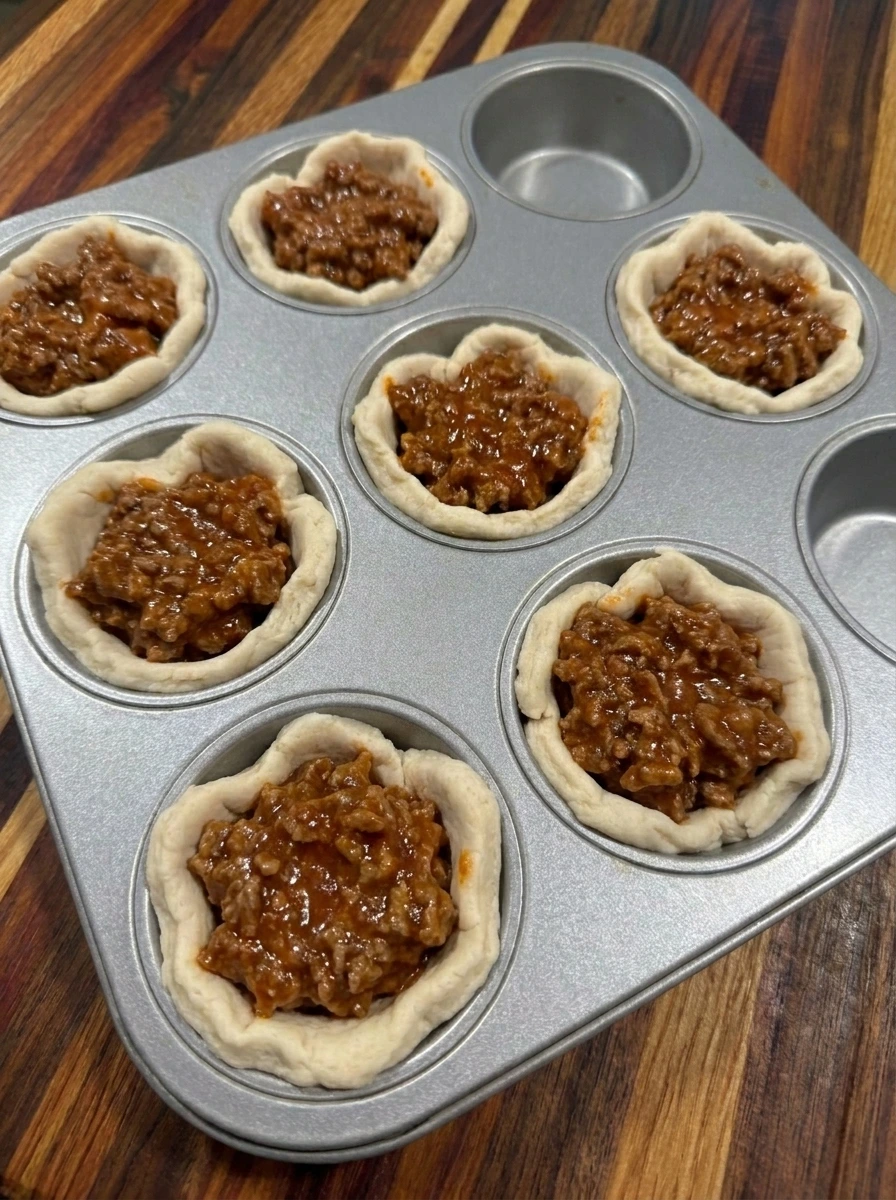
Divide the thick cheeseburger filling among the 8 dough cups and leave the raised dough edges visible. The beef sits in uneven mounds with a few crumbles closer to one side and no cup looks exactly the same.
Tip: Fill each cup just below the dough rim so the filling stays contained while the biscuit expands in the oven.
Step 5: Top the cups with cheddar
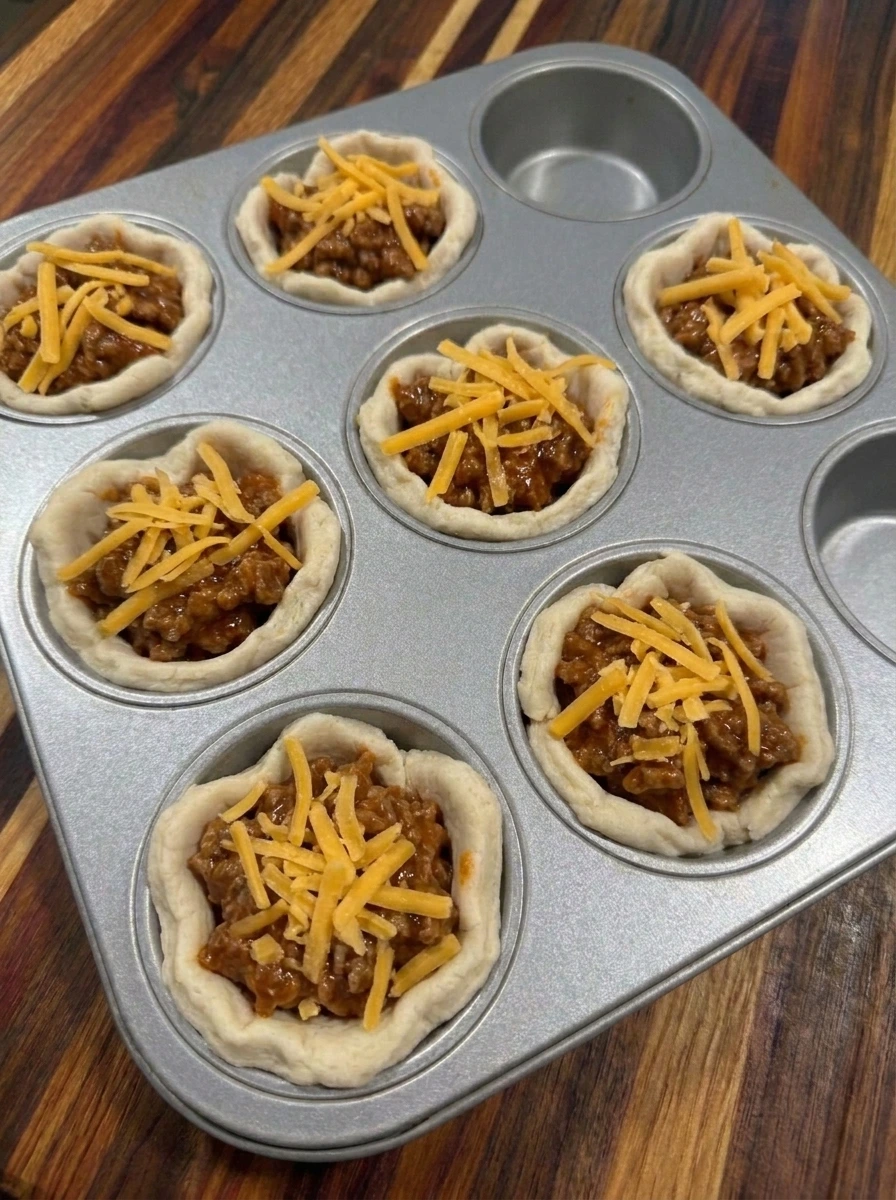
Scatter the shredded cheddar over all 8 filled cups and allow some beef to remain visible around the edges. The cheese forms loose uneven piles with a few strands falling against the dough rims.
Tip: Leave small gaps in the cheese so the beef remains visible and the tops brown with a more natural texture.
Step 6: Bake until golden and melted
Bake the filled cups until the biscuit edges puff and change from pale dough to golden brown. The cheddar melts into uneven glossy patches with a few lightly browned spots while the filling settles into the baked cups.
Tip: Remove the cups when the biscuit edges are deeply golden because pale edges can remain soft near the filling.
Step 7: Plate one cup with fresh toppings
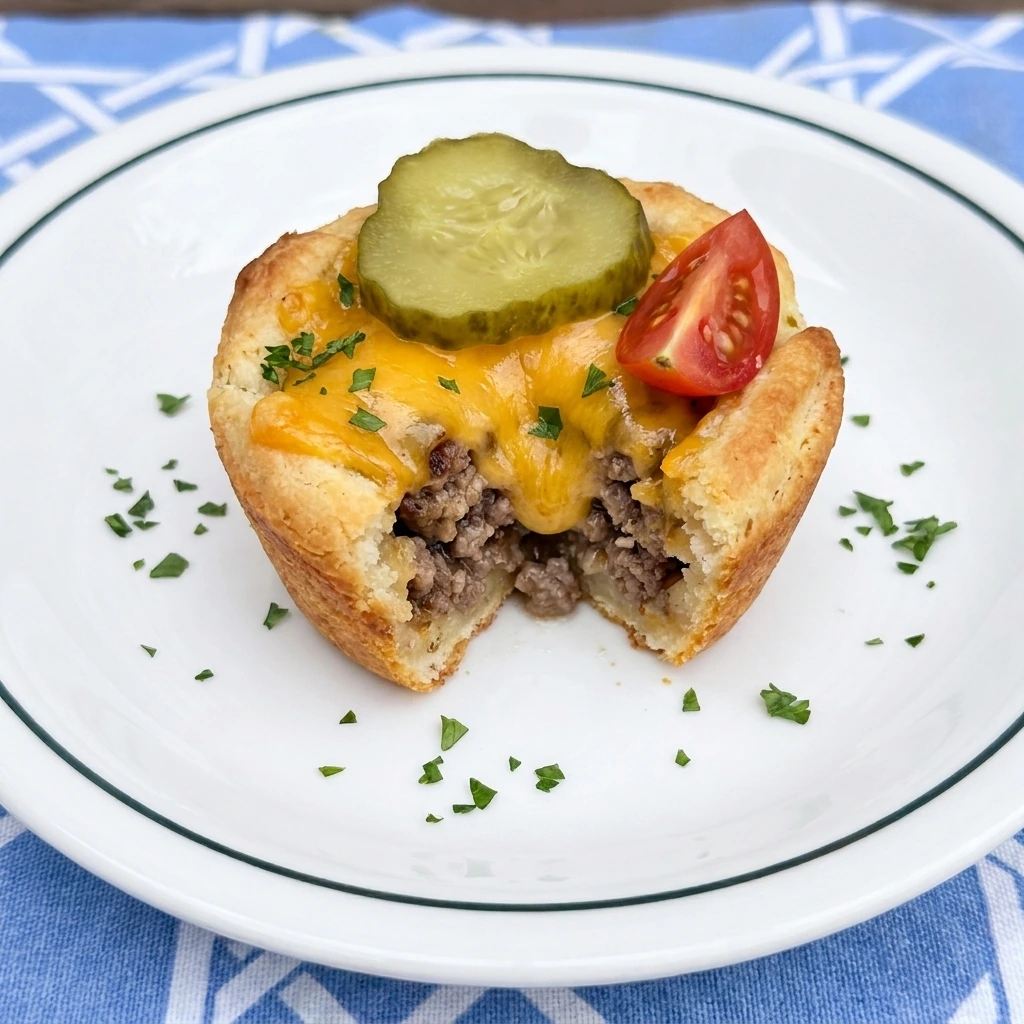
Transfer one baked cup to a white plate and cut it partly open so the juicy beef center and melted cheese are visible. Finish the single portion with 1 dill pickle chip and 1 tomato quarter and a light scattering of parsley for fresh color and contrast.
Tip: Let the cups rest briefly before cutting so the filling stays layered while the melted cheese remains soft.
Pro Tips
- Drain excess beef grease before adding the sauces so the biscuit bottoms bake up golden instead of becoming heavy and soft.
- Flatten every biscuit wider than the muffin well so enough dough reaches up the sides and holds the beef securely.
- Use freshly shredded cheddar because it melts more smoothly and creates better uneven cheese coverage than bagged cheese.
- Rest the baked cups for five minutes before removing them so the biscuit shell firms and the filling stays in place.
Storage Instructions
Let the Mini Cheeseburger Cups cool completely before storing them. Warm cups release steam and that moisture can soften the biscuit shells. Place the cooled cups in a single layer inside an airtight container. Refrigerate them for up to 4 days and keep the fresh pickle and tomato toppings separate. For longer storage freeze the baked cups without garnish on a lined tray until firm. Transfer them to a freezer safe container and store them for up to 2 months. Reheat refrigerated cups in the oven until the centers are hot and the biscuit edges become crisp again. Frozen cups can be reheated directly from frozen with a few extra minutes. Avoid reheating them for too long in the microwave because the biscuit dough may become chewy. Add fresh pickles and tomatoes only after reheating.
Frequently Asked Questions
Yes. Assemble them several hours ahead and refrigerate them before baking until the biscuit edges turn golden.
Drain the cooked beef well and simmer the sauce until thick before spooning the filling into the dough cups.
Yes. Freeze fully baked cups in a sealed container and reheat them in the oven until hot and crisp.
Sharp cheddar melts well and adds classic burger flavor while Monterey Jack gives a milder creamy result.
See You in the Kitchen
I hope you try these Mini Cheeseburger Cups soon.
They are a simple recipe that looks beautiful and tastes incredible and makes every weeknight dinner or party a little more special.
Do not forget to share your results or save this recipe for later and try BBQ Turkey Meatball Sliders or Chicken Parmesan Toast Bites because they are recipes worth keeping.
Print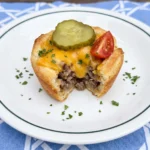
Mini Cheeseburger Cups
- Total Time: 45 minutes
- Yield: 4 servings
Description
These Mini Cheeseburger Cups are an easy and quick dinner idea made with flaky biscuit dough and savory ground beef and melted cheddar. This simple recipe is one of the best ideas for weeknight dinner and meal prep because every cup is filling and easy to reheat. Add pickles and tomatoes for a healthy fresh finish or serve them at a holiday gathering and potluck and brunch or party when you need a handheld dish everyone can enjoy.
Ingredients
- 1 tube with 8 biscuits Refrigerated biscuit dough
- 1 pound Lean ground beef
- 1 small onion finely diced Yellow onion
- 2 cloves minced Garlic
- 3 tablespoons Ketchup
- 1 tablespoon Yellow mustard
- 1 teaspoon Worcestershire sauce
- 1 half teaspoon Salt
- 1 quarter teaspoon Black pepper
- 1 cup Shredded cheddar cheese
- 8 chips Dill pickle chips
- 4 tomatoes quartered Cherry tomatoes
- 1 tablespoon Chopped parsley
Instructions
- Add the ground beef and diced onion and minced garlic together so the raw pink meat begins breaking into irregular pieces. Cook until the beef changes from pink to browned and the onion becomes soft and translucent. Leave a few larger crumbles for a homemade texture.
- Stir the ketchup and mustard and Worcestershire sauce and salt and black pepper into the browned beef. The loose crumbles become glossy and lightly coated while the mixture thickens enough to hold together without becoming wet.
- Separate the 8 biscuit rounds and flatten each one slightly so it becomes wider and thinner. Press the dough into 8 muffin wells with uneven rims extending slightly above the edges. Keep the centers open for filling.
- Divide the thick cheeseburger filling among the 8 dough cups and leave the raised dough edges visible. The beef sits in uneven mounds with a few crumbles closer to one side and no cup looks exactly the same.
- Scatter the shredded cheddar over all 8 filled cups and allow some beef to remain visible around the edges. The cheese forms loose uneven piles with a few strands falling against the dough rims.
- Bake the filled cups until the biscuit edges puff and change from pale dough to golden brown. The cheddar melts into uneven glossy patches with a few lightly browned spots while the filling settles into the baked cups.
- Transfer one baked cup to a white plate and cut it partly open so the juicy beef center and melted cheese are visible. Finish the single portion with 1 dill pickle chip and 1 tomato quarter and a light scattering of parsley for fresh color and contrast.
Notes
Pro Tips:
- Drain excess beef grease before adding the sauces so the biscuit bottoms bake up golden instead of becoming heavy and soft.
- Flatten every biscuit wider than the muffin well so enough dough reaches up the sides and holds the beef securely.
- Use freshly shredded cheddar because it melts more smoothly and creates better uneven cheese coverage than bagged cheese.
- Rest the baked cups for five minutes before removing them so the biscuit shell firms and the filling stays in place.
Storage: Let the Mini Cheeseburger Cups cool completely before storing them. Warm cups release steam and that moisture can soften the biscuit shells. Place the cooled cups in a single layer inside an airtight container. Refrigerate them for up to 4 days and keep the fresh pickle and tomato toppings separate. For longer storage freeze the baked cups without garnish on a lined tray until firm. Transfer them to a freezer safe container and store them for up to 2 months. Reheat refrigerated cups in the oven until the centers are hot and the biscuit edges become crisp again. Frozen cups can be reheated directly from frozen with a few extra minutes. Avoid reheating them for too long in the microwave because the biscuit dough may become chewy. Add fresh pickles and tomatoes only after reheating.
- Prep Time: 15 minutes
- Cook Time: 30 minutes
- Category: Dinner
- Cuisine: American