Seriously no joke this is the best Apple Crisp Cheesecake Cups recipe. It is the one my mom and before that my grandma would have made for years. It is a classic dessert with simple delicious ingredients. Tender apples are mixed with brown sugar and cinnamon then layered with creamy cheesecake filling and a buttery oat crisp topping.
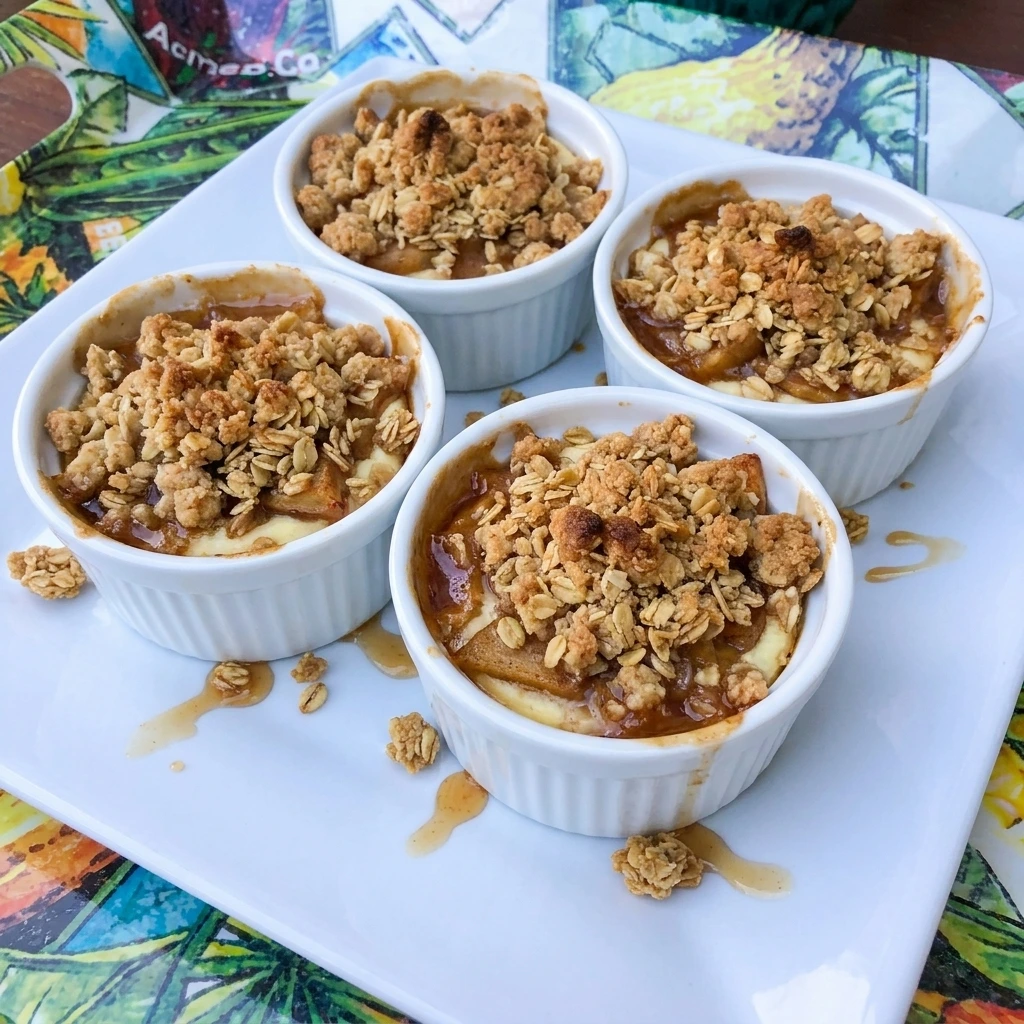
Perfect for holiday trays or sweet little cups with coffee on the side. A classic apple crisp cheesecake cup recipe is one of my go to easy desserts. Not only does it make for a super delicious treat but it is packed with cozy apple flavor and keeps everyone satisfied for hours. Also there is no complicated methods or ingredients needed.
And party prep is a cinch. I often make a batch of these cups on Sunday to enjoy for dessert and a snack on Monday and Tuesday. If you love this recipe try our Pumpkin Cheesecake Cookies for another creamy fall dessert. With just a few basic ingredients probably already in the fridge and pantry you can whip up cheesecake cups or mini jars or even spoon them into ramekins for a fancy and party ready dish.
Ingredients

Here is what I use for this recipe and you can adjust nuts or spices based on preference:
- Graham cracker crumbs: Creates the sweet crumb base and adds a cookie like crunch beneath the creamy filling.
- Old fashioned oats: Adds hearty texture to the crisp topping and helps the crumble bake into uneven golden clusters.
- All purpose flour: Binds the oat topping so it forms small buttery crumbs instead of loose dry oats.
- Brown sugar: Sweetens both the apple layer and crumble while adding caramel flavor and warm color.
- Ground cinnamon: Gives the apple layer a cozy spice flavor and adds speckled warmth to the filling.
- Salt: Balances the sweetness and makes the apple and cheesecake flavors taste fuller.
- Unsalted butter: Moistens the crumb base and crisp topping so they bake with rich golden edges.
- Cream cheese: Forms the creamy cheesecake layer and gives the cups their smooth tangy body.
- Granulated sugar: Sweetens the cheesecake filling without overpowering the apple crisp topping.
- Sour cream: Adds softness and a light tang that keeps the cheesecake layer creamy after chilling.
- Vanilla extract: Rounds out the creamy filling and adds a warm bakery style aroma.
- Egg: Helps the cheesecake layer set softly so each cup holds its shape when spooned.
- Apples: Creates the tender fruit layer with juicy pieces that soften and turn glossy as they bake.
- Lemon juice: Keeps the apples bright and balances the sweetness with a gentle fresh note.
Tools You’ll Need
- Mixing bowl: Combines the crumb base and cheesecake filling with enough space for smooth mixing.
- Saucepan: Softens the diced apples with sugar and cinnamon until glossy and tender.
- Four ramekins: Hold the individual cheesecake cups while they bake and keep portions neat.
- Baking sheet: Supports the ramekins in the oven and catches any bubbling apple syrup.
- Measuring cups and spoons: Keeps the crust filling and crumble balanced for consistent texture.
- Rubber spatula: Scrapes and folds the cheesecake filling without wasting the creamy mixture.
Instructions
Step 1: Mix the crumb base

The graham cracker crumbs combine with part of the melted butter and part of the brown sugar until the dry crumbs darken slightly and turn sandy. The mixture changes from loose crumbs into damp clusters that can press together with small uneven bits throughout.
Tip: Press the crumb mixture gently so it stays tender and slightly uneven instead of turning dense or hard after baking.
Step 2: Blend the cheesecake filling
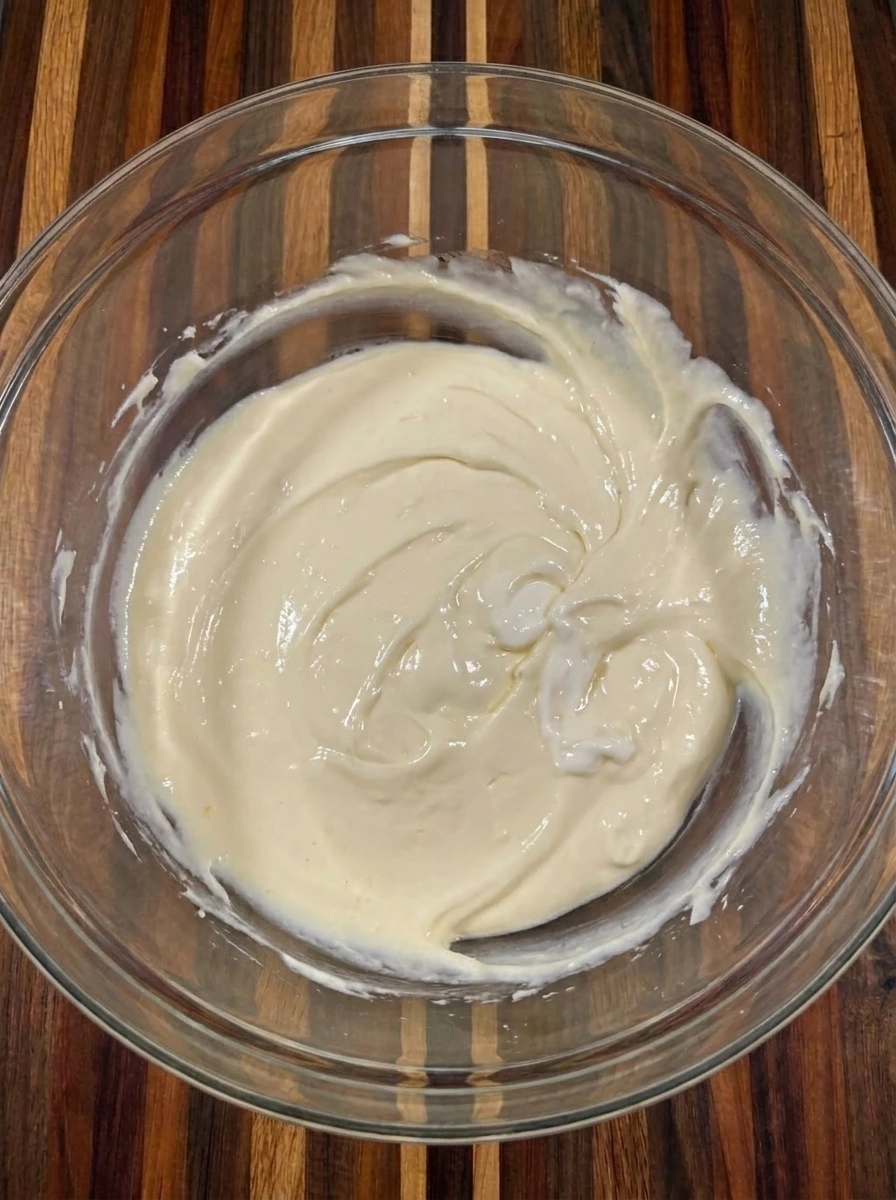
The softened cream cheese mixes with granulated sugar and sour cream until the filling turns smooth and pale. The egg and vanilla fold in next so the filling changes from thick cream into a pourable cheesecake mixture with faint swirls still visible.
Tip: Stop mixing once the filling looks smooth with faint streaks so the cheesecake layer stays creamy and not airy.
Step 3: Cook the cinnamon apples

The diced apples mix with lemon juice and brown sugar and cinnamon until the pieces look speckled and glossy. As they soften the apple cubes shift from firm pale pieces into tender golden chunks with syrup collecting between them.
Tip: Keep the apple pieces slightly irregular so the filling has juicy pockets and a homemade texture in every cup.
Step 4: Layer the cups
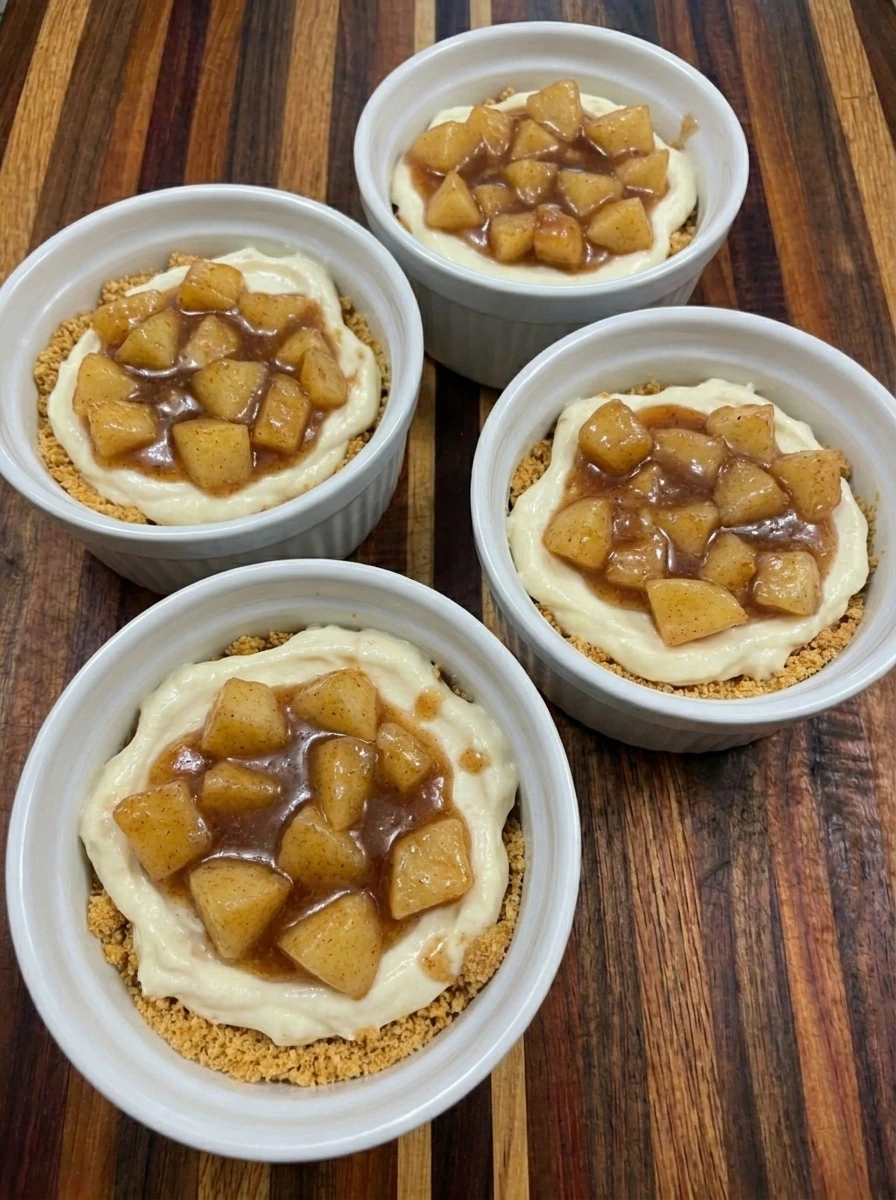
The crumb base moves into four ramekins and gets loosely pressed into uneven bottoms. The cheesecake filling is spooned over the crumbs then the glossy apple layer lands on top in casual patches so each cup begins to show separate creamy and fruity layers.
Tip: Leave the apple layer uneven across the tops so the baked cups look natural and every spoonful tastes different.
Step 5: Scatter the oat crumble

The oats and flour and remaining brown sugar combine with melted butter into small rough crumbs. The crumble scatters over the apple layer in uneven pieces so the cups gain a rustic topping with open spots where apples still peek through.
Tip: Scatter the crumble in loose clumps instead of covering every apple piece so the topping browns with texture.
Step 6: Bake until browned

The cups bake until the cheesecake layer sets and the apples bubble gently around the crumble. The oat topping changes from pale and soft to lightly browned with darker edges and the filling looks creamy beneath the golden uneven surface.
Tip: Look for lightly browned crumble and softly set centers because the cups firm up more as they cool.
Step 7: Serve one cheesecake cup
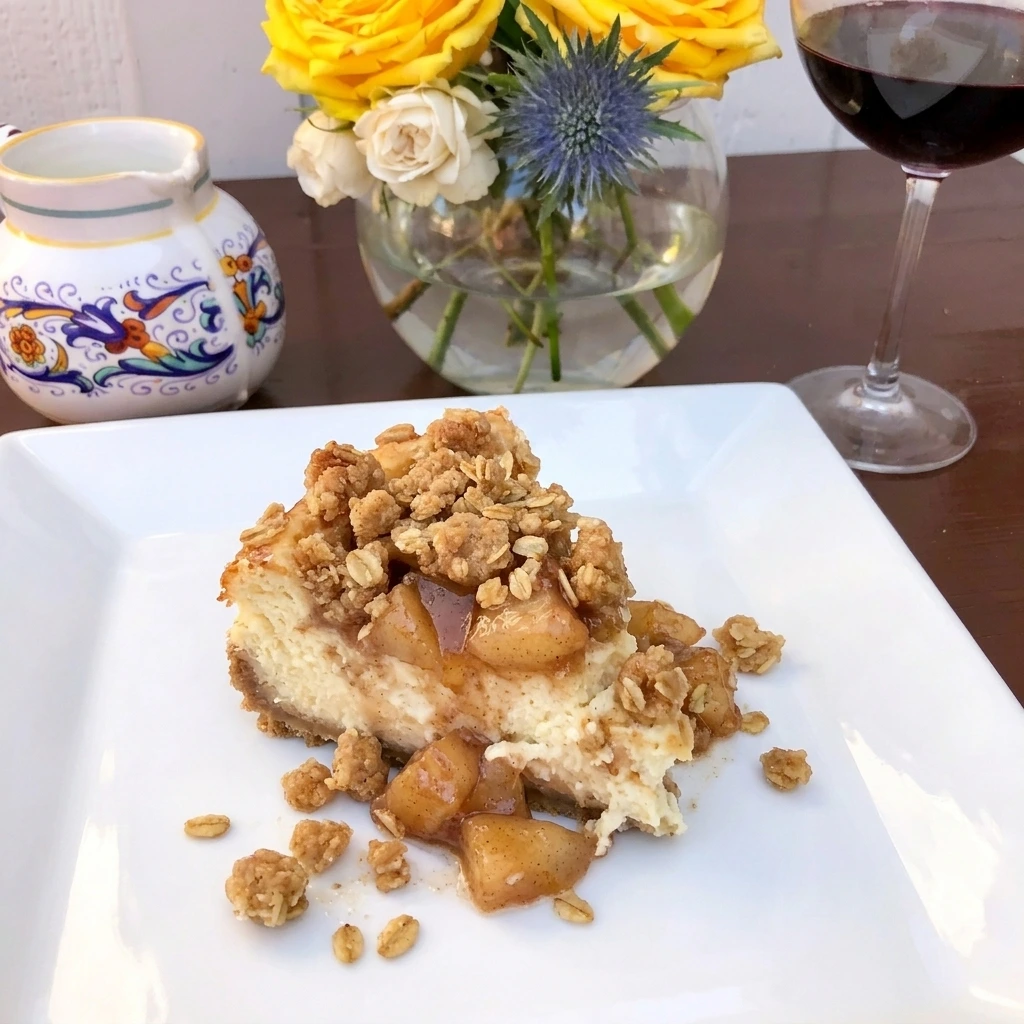
One cup is spooned onto a white plate so the inside shows creamy cheesecake under tender apples and crunchy oat crumble. The portion looks homemade with broken edges and small crumbs scattered naturally and warm apple syrup streaking through the cheesecake layer.
Tip: Serve the cups slightly warm or chilled so the creamy layer contrasts with the soft apples and crisp topping.
Pro Tips
- Use firm apples so the fruit softens without turning watery and the cups keep a clear layered texture after baking.
- Let the cream cheese soften fully so the filling blends smooth without small lumps hiding under the apple layer.
- Bake the ramekins on a sheet pan because bubbling apple syrup can spill slightly around the rough crumble edges.
- Cool the cups before serving so the cheesecake layer sets while the oat topping stays pleasantly crisp.
Storage Instructions
Store cooled Apple Crisp Cheesecake Cups covered in the refrigerator for up to four days. For the best texture keep the cups in their ramekins so the layers stay neat and the crumble stays in place. To rewarm place a cup in a low oven until the apples soften again and the topping feels lightly crisp. Avoid microwaving for too long because the cheesecake layer can loosen and the oat topping can become soft. Freeze only if needed and wrap each cooled cup tightly then thaw overnight in the refrigerator before serving.
Frequently Asked Questions
Yes make them one day ahead and chill them covered then serve cold or gently warmed.
Firm apples like Honeycrisp or Granny Smith hold texture and balance the sweet filling.
They can freeze but the crumble softens so fresh or refrigerated cups taste best.
Serve them in ramekins with coffee or tea for a sweet brunch dessert everyone can grab.
See You in the Kitchen
These Apple Crisp Cheesecake Cups are a great way to satisfy your cozy dessert cravings without baking a full cheesecake.
I typically make the cinnamon apples at the same time I mix my cheesecake filling that way all of my dessert components will be ready at the same time.
Even my kids love this one and if you do too try our Pumpkin Cream Cheese Muffins or Pumpkin Cheesecake Cookies next.
Print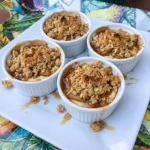
Apple Crisp Cheesecake Cups
- Total Time: 45 minutes
- Yield: 4 servings
Description
These Apple Crisp Cheesecake Cups are an easy and quick dessert for holiday brunch and party tables with simple layers of creamy cheesecake filling tender cinnamon apples and buttery oat crumble. They are the best little make ahead ideas when you want a healthy inspired treat that still feels cozy sweet and special for potluck trays meal prep desserts or weeknight dinner endings with no slicing needed.
Ingredients
- 1 cup Graham cracker crumbs
- 1/2 cup Old fashioned oats
- 1/4 cup All purpose flour
- 1/2 cup divided Brown sugar
- 1 teaspoon Ground cinnamon
- 1/4 teaspoon Salt
- 5 tablespoons melted Unsalted butter
- 8 ounces softened Cream cheese
- 1/4 cup Granulated sugar
- 1/4 cup Sour cream
- 1 teaspoon Vanilla extract
- 1 large Egg
- 2 medium peeled and diced Apples
- 1 tablespoon Lemon juice
Instructions
- The graham cracker crumbs combine with part of the melted butter and part of the brown sugar until the dry crumbs darken slightly and turn sandy. The mixture changes from loose crumbs into damp clusters that can press together with small uneven bits throughout.
- The softened cream cheese mixes with granulated sugar and sour cream until the filling turns smooth and pale. The egg and vanilla fold in next so the filling changes from thick cream into a pourable cheesecake mixture with faint swirls still visible.
- The diced apples mix with lemon juice and brown sugar and cinnamon until the pieces look speckled and glossy. As they soften the apple cubes shift from firm pale pieces into tender golden chunks with syrup collecting between them.
- The crumb base moves into four ramekins and gets loosely pressed into uneven bottoms. The cheesecake filling is spooned over the crumbs then the glossy apple layer lands on top in casual patches so each cup begins to show separate creamy and fruity layers.
- The oats and flour and remaining brown sugar combine with melted butter into small rough crumbs. The crumble scatters over the apple layer in uneven pieces so the cups gain a rustic topping with open spots where apples still peek through.
- The cups bake until the cheesecake layer sets and the apples bubble gently around the crumble. The oat topping changes from pale and soft to lightly browned with darker edges and the filling looks creamy beneath the golden uneven surface.
- One cup is spooned onto a white plate so the inside shows creamy cheesecake under tender apples and crunchy oat crumble. The portion looks homemade with broken edges and small crumbs scattered naturally and warm apple syrup streaking through the cheesecake layer.
Notes
Pro Tips:
- Use firm apples so the fruit softens without turning watery and the cups keep a clear layered texture after baking.
- Let the cream cheese soften fully so the filling blends smooth without small lumps hiding under the apple layer.
- Bake the ramekins on a sheet pan because bubbling apple syrup can spill slightly around the rough crumble edges.
- Cool the cups before serving so the cheesecake layer sets while the oat topping stays pleasantly crisp.
Storage: Store cooled Apple Crisp Cheesecake Cups covered in the refrigerator for up to four days. For the best texture keep the cups in their ramekins so the layers stay neat and the crumble stays in place. To rewarm place a cup in a low oven until the apples soften again and the topping feels lightly crisp. Avoid microwaving for too long because the cheesecake layer can loosen and the oat topping can become soft. Freeze only if needed and wrap each cooled cup tightly then thaw overnight in the refrigerator before serving.
- Prep Time: 15 minutes
- Cook Time: 30 minutes
- Category: Dessert
- Cuisine: American